Cyberpunk 2077 is a role-playing video game developed by CD Projekt. Adapted from the Cyberpunk franchise, the story takes place in dystopian Night City, an open world with six distinct regions. Players assume the first-person perspective of a customisable mercenary called V, who can acquire skills in hacking and machinery, an arsenal of ranged weapons, and options for melee combat.
It was released for PC, PlayStation 4, and Xbox One on December 10, 2020. It is also scheduled to come to Stadia, PlayStation 5, and Xbox Series X further into the future. So, with Cyberpunk 2077 now available, we're going to take a look at what it takes to build a PC for different resolutions and frame rates. Here's hoping you won't be paying off the costs of components until 2077; let's take a look at what's needed!
In Section 2, we provide four balanced example builds geared toward providing enough power to run Cyberpunk 2077 at 60 FPS with different resolutions (1080p, 1440p, and 4K).
Buying computer parts through affiliate links on Logical Increments financially supports us, at no extra cost to you. Your purchases keep the site free for everyone!
Cyberpunk 2077 Official Hardware Requirements and Specifications
For builders, there are some interesting tidbits of information that go along with these official hardware requirements from CD Projekt Red. Within the specifications on their site, CDPR specifically advises people to look up a "performance hierarchy chart or comparison website" to see if their hardware makes the grade. As a result, we feel we're being personally asked to talk about recent alternative CPUs and GPUs that measure up to these parts.
So, first, we will provide the breakdown of the requirements themselves, then we'll give examples of current-generation parts to match.
Official Minimum Specifications for Cyberpunk 2077:
Now, let's break down the CPU and GPU details from these requirements to explain the situation better.
Processor (CPU)
For both the minimum and recommended specifications, the parts listed are previous-generation hardware, and not top-of-the-line at that. Which is great, as it means we can recommend cheaper parts for the best performance.
One thing that sticks out is that all listed CPUs are quad-core recommendations, even at the minimum level. As a result, it's fair to assume that the CDPR team have worked on their engine's ability to take advantage of additional cores since The Witcher 3 (whose official specs were a mix of dual- and quad-core CPUs).
What this means for builders now is, if you're after a build on a tight budget, a quad-core will do the job—while an older dual-core almost certainly won't. For beefier builds, we feel safer with recommending 6-core chips and higher.
Graphics Card (GPU)
Again, we're jumping back a number of generations here in the CDPR recommendations. The most noticeable difference between Minimum and Recommended is the VRAM discrepancy. They're jumping straight from 3GB to 6GB, so there's going to clearly be some obvious texture quality differences at the low end, with the high end requiring more horsepower.
The good news is, if your hardware isn't great and/or is a few generations back, you only need a mid-tier GPU to at least get playing. That being said, we at Logical Increments do tend to advise more balance in your build for the price, so below are our choices for balanced builds targeting different performance levels.
Example Cyberpunk 2077 PC Builds
These builds are designed to provide sufficient computing power for playing Cyberpunk 2077 at 60+ FPS (or 100+ FPS, where noted) at 1080p, 1440p, or 4K resolution.
There is a big difference between performance numbers with certain settings, especially the ray-tracing options. Hitting the goal in the paragraph above with the builds below includes the assumption that you won't be playing with ray tracing and DLSS turned on, which can sometimes drop frame rates by at least half. These builds can still run the game with those options enabled (we've included recent Nvidia GPUs in the higher-tier builds to ensure DLSS is available), but frame rates will almost certainly drop below 60 with ray-tracing regardless.
If you're not sure what resolution you want to play at (or how the different resolutions compare to each other), then take a look at our monitor resolution explanation page.
If you're not sure what frame rate you want to play at (or what frame rate is), then take a look at our FPS explanation page.
You can also see a general comparison between different GPUs in our Graphics Card Comparison page.
Designed to simply allow you to play the game—we’ve put together a really budget set-up, with an entry-level CPU and GPU to play on low settings.
This is the lowest-tier build that we feel can comfortably offer a consistent 60+ FPS in Cyberpunk 2077 at 1080p while playing with most graphics settings down to their low settings (or off, where applicable). This build sits close to the minimum recommended specifications listed above.
By comparison to above, this build is specifically designed to play the game on maximum settings at 1080p and never drop below 60 FPS. Because of this, you might find that—in smaller enclosed areas where less is taking place—you'll get significantly more than 60 FPS. The aim is to ensure you're always getting at least 60 FPS.
We have also gone with an aftermarket CPU cooling solution here in order to keep the whole build nice and cool while maintaining the 60 FPS average in the game during long sessions.
At this point, we're starting to take a more high-end build approach for handling either high-frame-rate gaming at 1080p or 60 FPS at 1440p.
With this aim in mind, we've selected the R5 7600X as the CPU, as well as a much more substantial GPU in the RTX 3060 Ti. The GPU allows us to get not only a smooth overall experience, but also the opportunity to experience a more complete visual jump. As for the CPU, we're going for the high-frame-rate stability it allows us in gaming!
With the demand for both high frame rates and a high resolution comes a monster of a build. The aim here is 60 FPS at 4K on maximum settings (or 100+ FPS at 1440P), so with that requirement comes a slightly more premium build.
With that in mind, we've gone with a higher-core-count CPU, trusting that CDPR will continue putting in the work of optimising for higher core counts based on their official recommendations. To ensure we can make the most out of that processor performance, we have opted for the RTX 4070 Ti as the GPU, allowing for high-resolution textures as well as sometimes enabling the ray-tracing experience to its fullest.
Cyberpunk 2077 Graphical Settings Guide
This section takes a close look at the graphical options in Cyberpunk 2077, and their effects on the game’s performance.
The ‘performance impact’ in each subsection below is the measured difference in average FPS between playing the game with all settings at their highest and turning only the setting in question down to the lowest (or off) while leaving all others untouched.
It is also worth pointing out that the performance impact is not necessarily perfectly additive. So if disabling one setting increases FPS by 10% and disabling another increases FPS by 10%, disabling both would not be expected to increase performance by 20%. Instead, the increase would likely be somewhere from 12-18% total.
Finally, at 1440p and 4K resolutions, turning some of these settings down or off entirely can have huge performance improvements but at the cost of significantly more noticeable drops in visual quality.
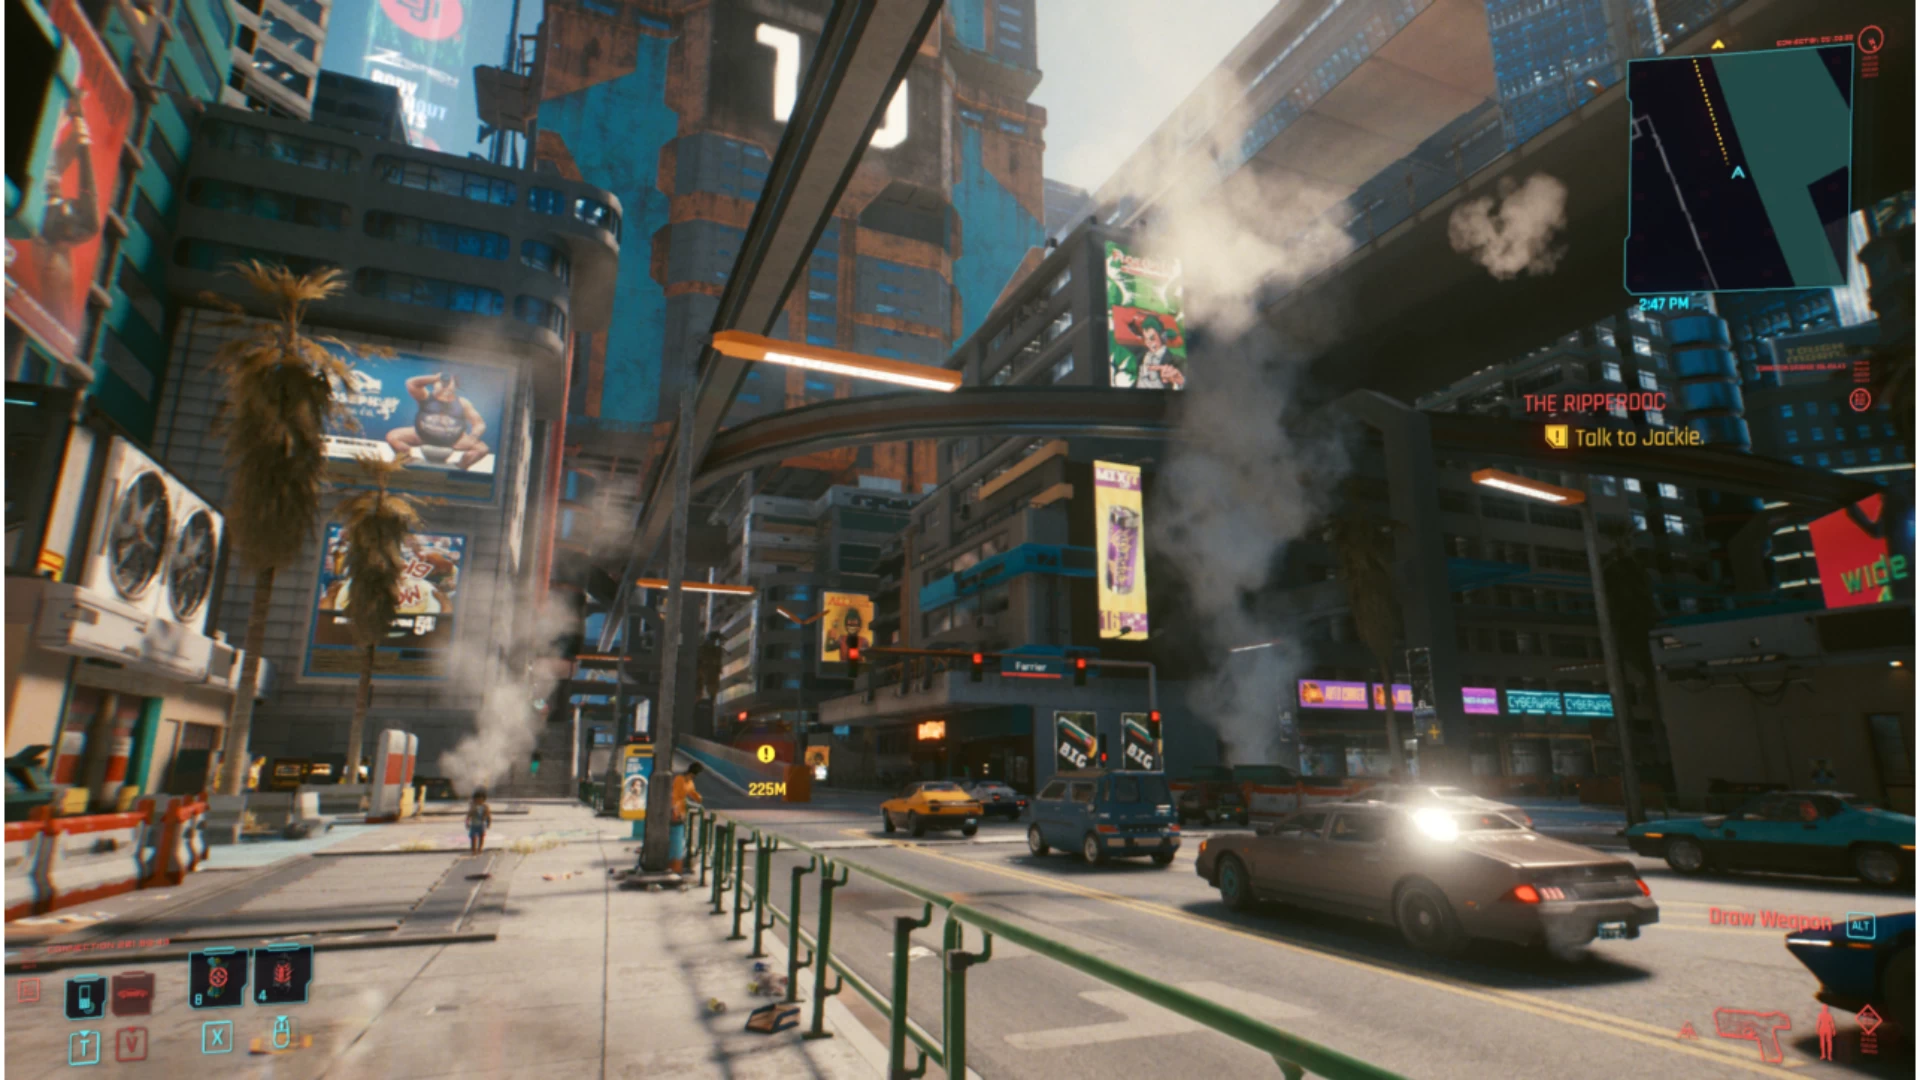
For the sake of good indicative screenshots, they were taken from the various areas around the city at the start of Act 1. Performance impacts were then calculated through repeated gameplay at different areas on the map.
A Note on AMD vs. Nvidia GPUs
It is well worth noting here that Cyberpunk 2077 has a number of graphics settings designed exclusively around Nvidia cards. Although ray tracing can be used (generally) with the new AMD cards, the performance is not great and is similar to first-generation ray-tracing performance on RTX 2000 series cards.
Where many players can most likely benefit from having Nvidia cards in Cyberpunk is with DLSS. The implementation is expansive (as will be shown a fair amount below), so you can tweak a lot of the game to suit your setup.
A Note on the System Used for Testing
The system used to gather all of the data (and screenshots) below features a Ryzen 5 3600 running at 4.2 GHz (all cores OC), with an RTX 2070 Super (specifically, an Asus Dual Evo OC). The 3600 was one of the more popular CPUs in 2019/2020, and the high-tier previous-generation GPU gives full access to the custom graphics settings in the game. It is worth noting that most of the game currently uses only 2-3 cores, with an additional core coming into play in heavy combat situations. Due to this, a 4-6 core CPU is recommended for Cyberpunk 2077 as a minimum.
The test system also has 64GB of 3600MHz CL16 RAM (G.SKILL Ripjaws V). But as the game is very much GPU-bound (using approximately 3-4GB at 1080p, rising to up to 6GB at 4K), the RAM kit just had its standard OC profile applied out-of-the-box with no additional timing adjustments used.
Although, by default, our test machine gave around 50 FPS with Cyberpunk's "scanned" performance defaults, after tweaking the settings (to a mix of high, medium, and low) as well as having Ray Tracing disabled, the game was running nicely at around 90 FPS. Turning on "Balanced" for DLSS then pushed this all the way to 120-150 FPS depending on the area, so that looks like the way to go if frame rate is your only concern (while still keeping some visual niceties).
Custom Graphics
Before you even touch the settings, the game can automatically tweak its settings based on your system. With the build described above, the automated process resulted in a mix of High and Ultra settings, with ray tracing on and DLSS enabled on Auto (essentially its most dynamic option to maintain FPS). Do note that this auto-applying of settings prefers visual fidelity to frame rate, and the build in question was achieving around 50 FPS with the automatically customized settings.
Presets
The first step on the road to tweaking settings. There are a number of presets available (Low, Medium, High, Ultra) which are not GPU-specific. However, there are also a number of Ray Tracing presets too (Ray Tracing: Medium and Ray Tracing: Ultra).
Performance impact: ~115% between Low and Ultra, ~200% between Low and Ray Tracing: Ultra
Drag the bar to compare Graphics Preset on Low and Ray Tracing: Ultra.
Note the difference in sharpness both in terms of the textures as a whole, as well as in terms of fine lighting details. For those trying to squeeze performance out of their system, the Ray Tracing: Ultra preset was using 7.1-7.5GB VRAM, with the Low preset using 6GB.
Note: DLSS is not enabled via presets, only with user manually enabling or if initial system scan sets DLSS to Auto.
Level of Detail
I'm putting this first (despite it being way down the list of options in-game) as this is pretty much a crude scaling setting, whereas a lot of the other options are very specific. In a nutshell, this is your overall in-game graphics detail changer. As it's so close in its visual change to the overall preset changes depicted above, we're just listing it here for reference.
Performance Impact: ~75% between Low and High
Improved Facial Lighting Geometry
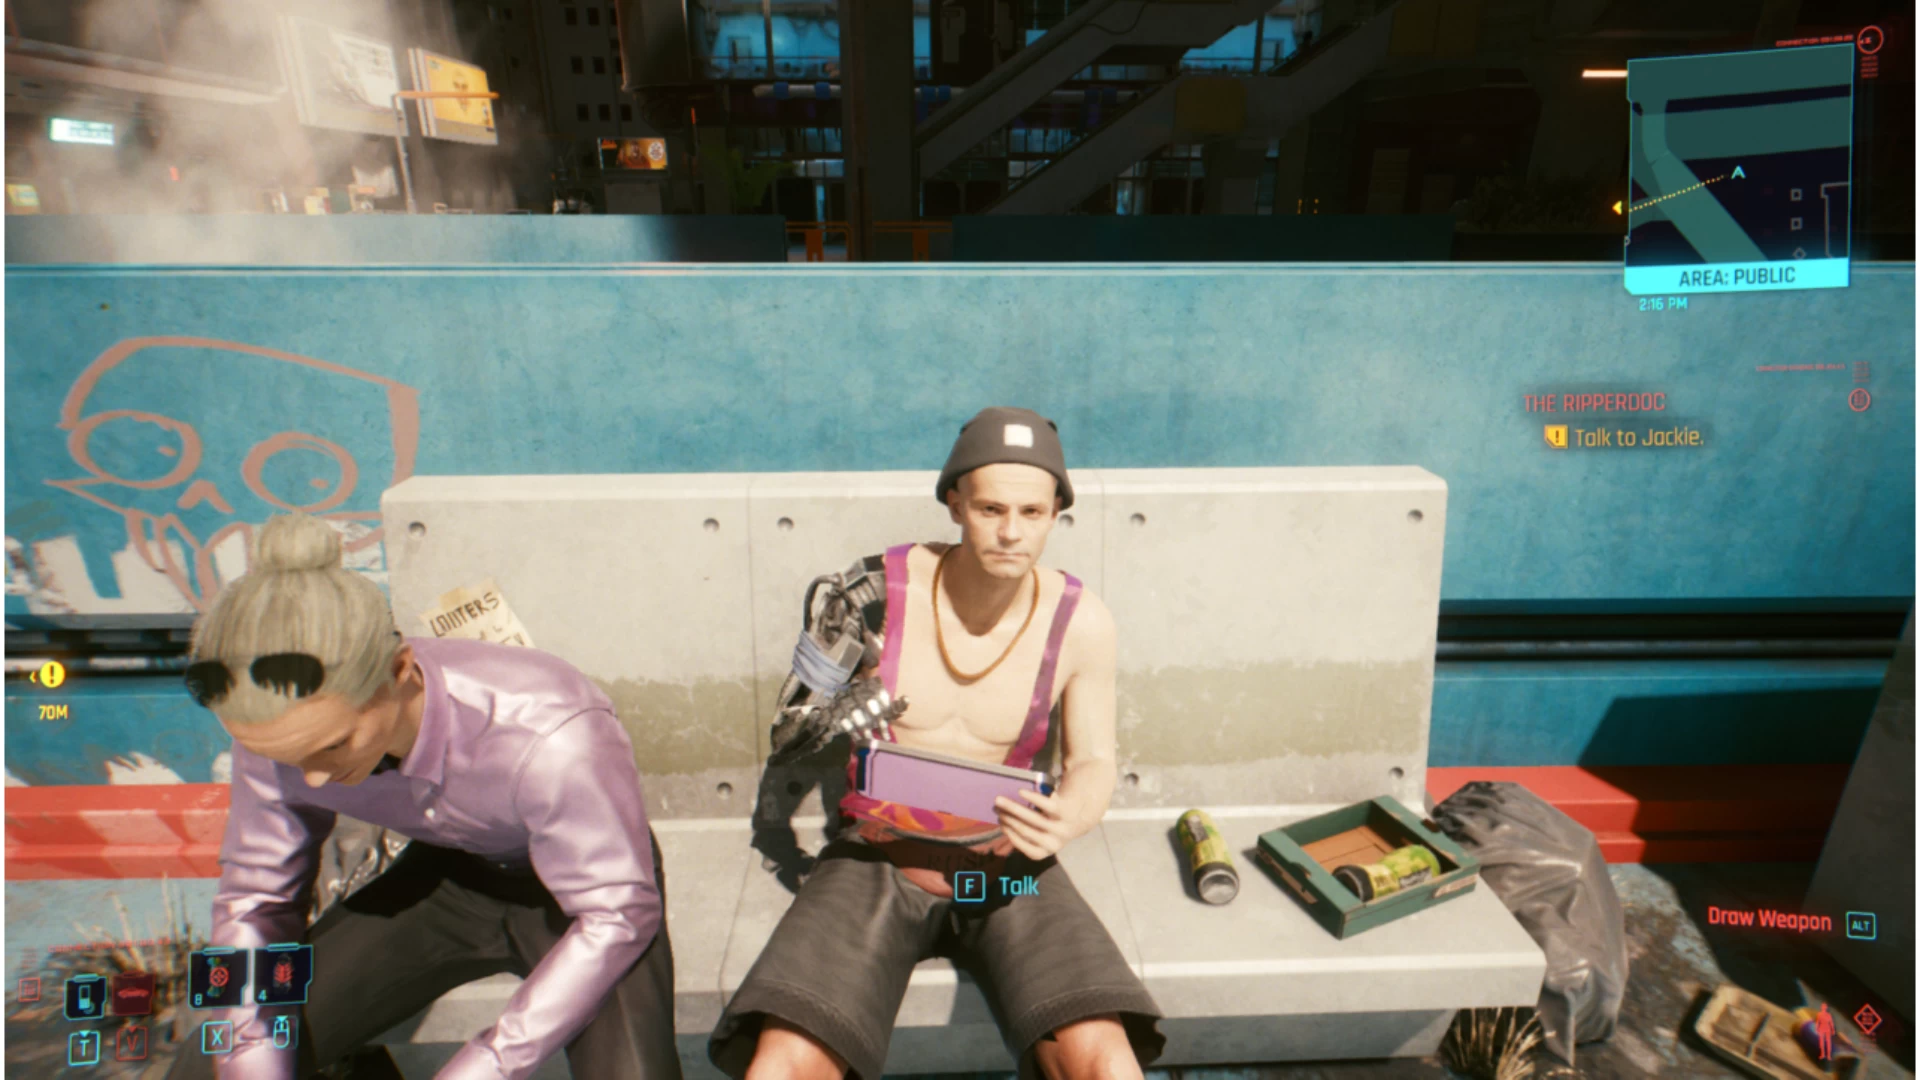
This impacts the facial animations on characters in the world. Although this is nigh impossible to get into a comparison slider (both because characters have a habit of moving, and because of the game's aggressive occlusion culling that removes characters when you look away from them), consider the light impacting my buddy's face in the following image:
Performance impact: ~3% between Off and On
This is not a slider. It's just an image of this man's beautifully lit face.
Anywhere that you get different levels of light interacting with a character, having this turned on gives you much more realistic-looking animations, as it takes into account how light is interacting with their face.
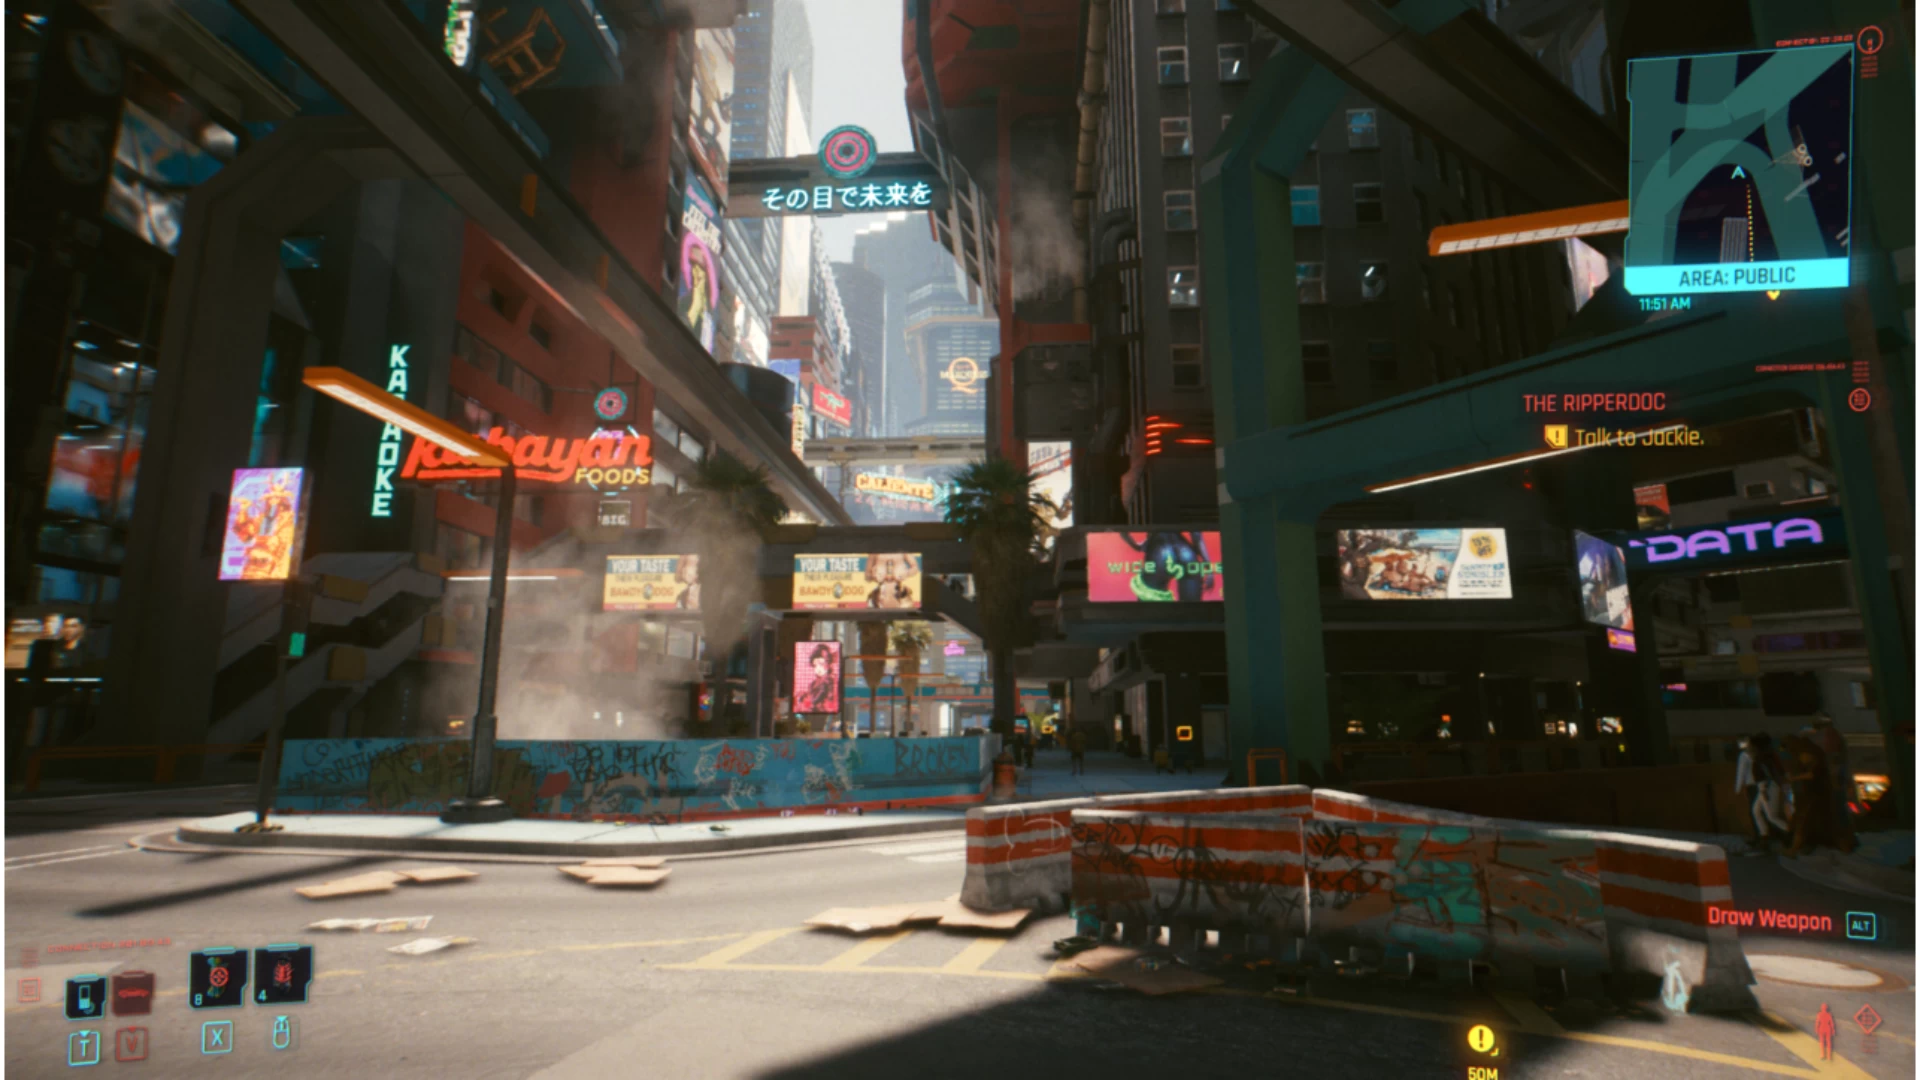
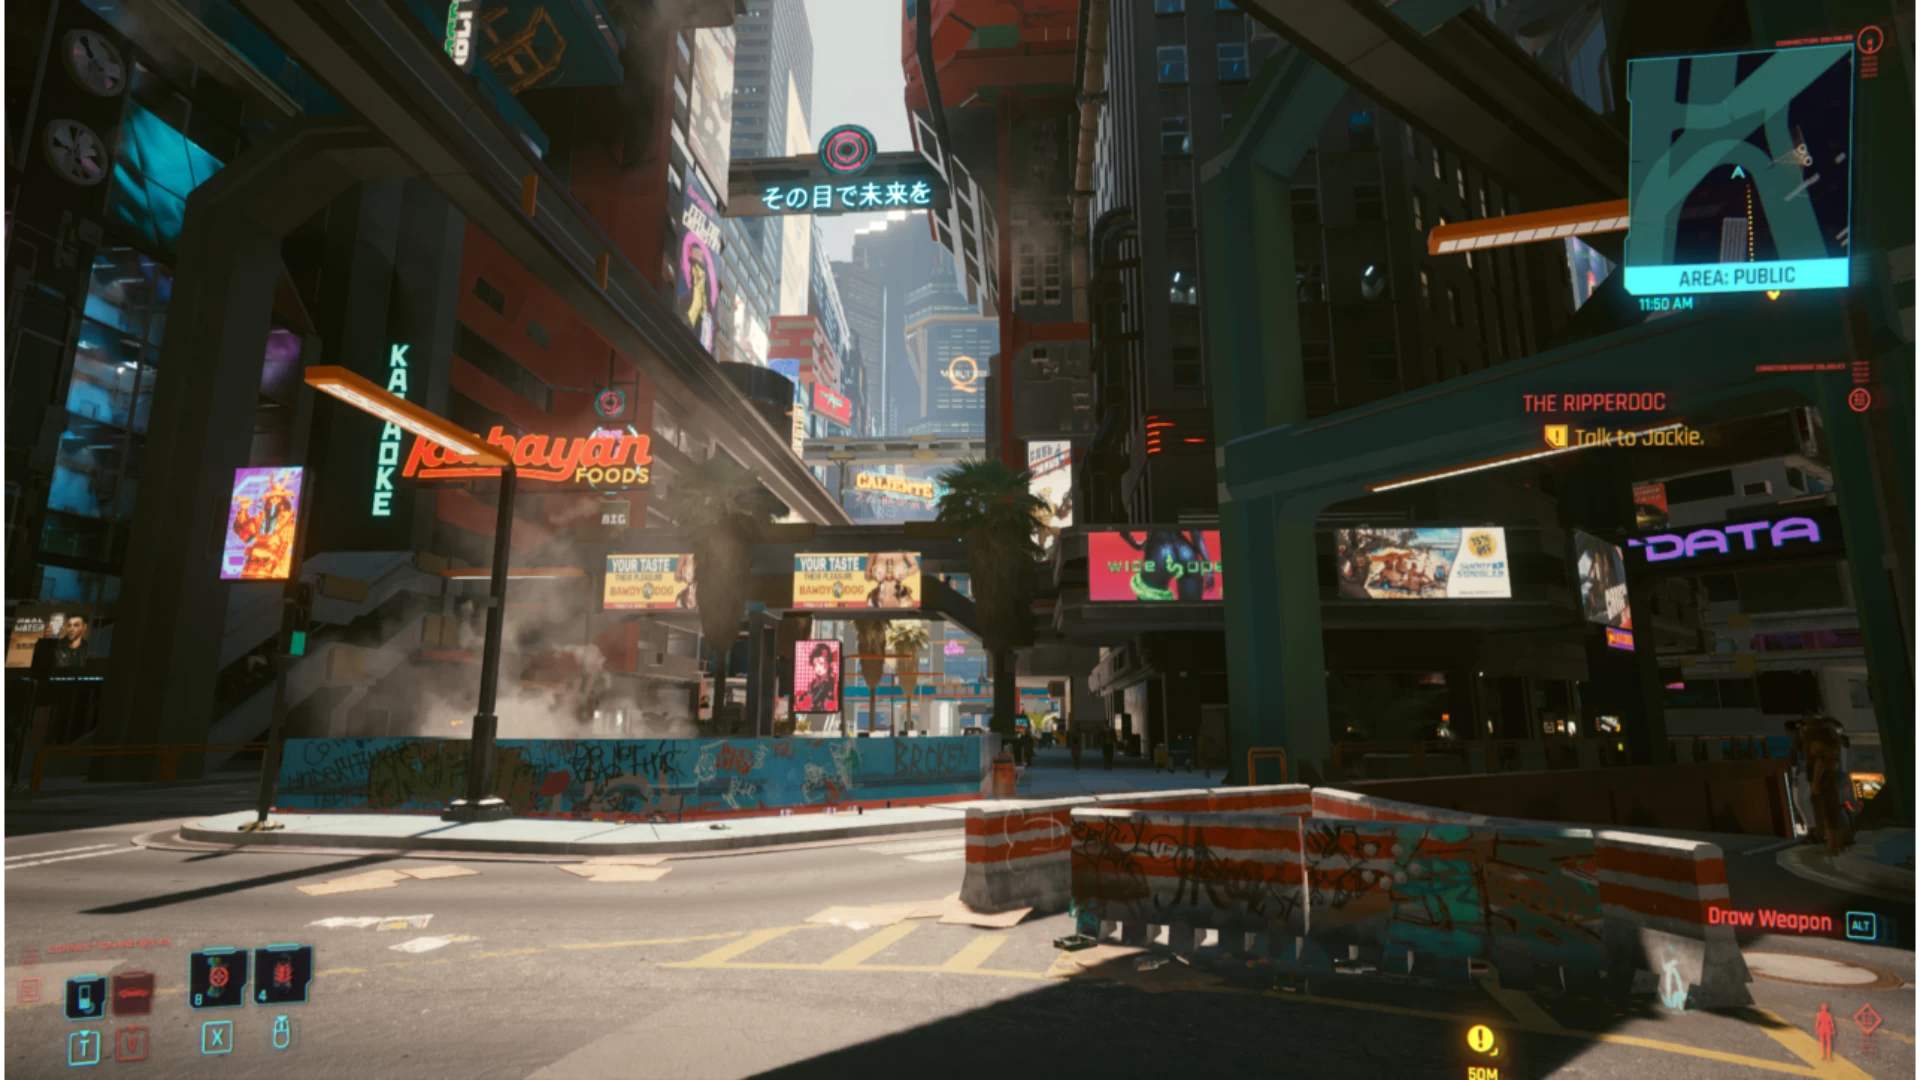
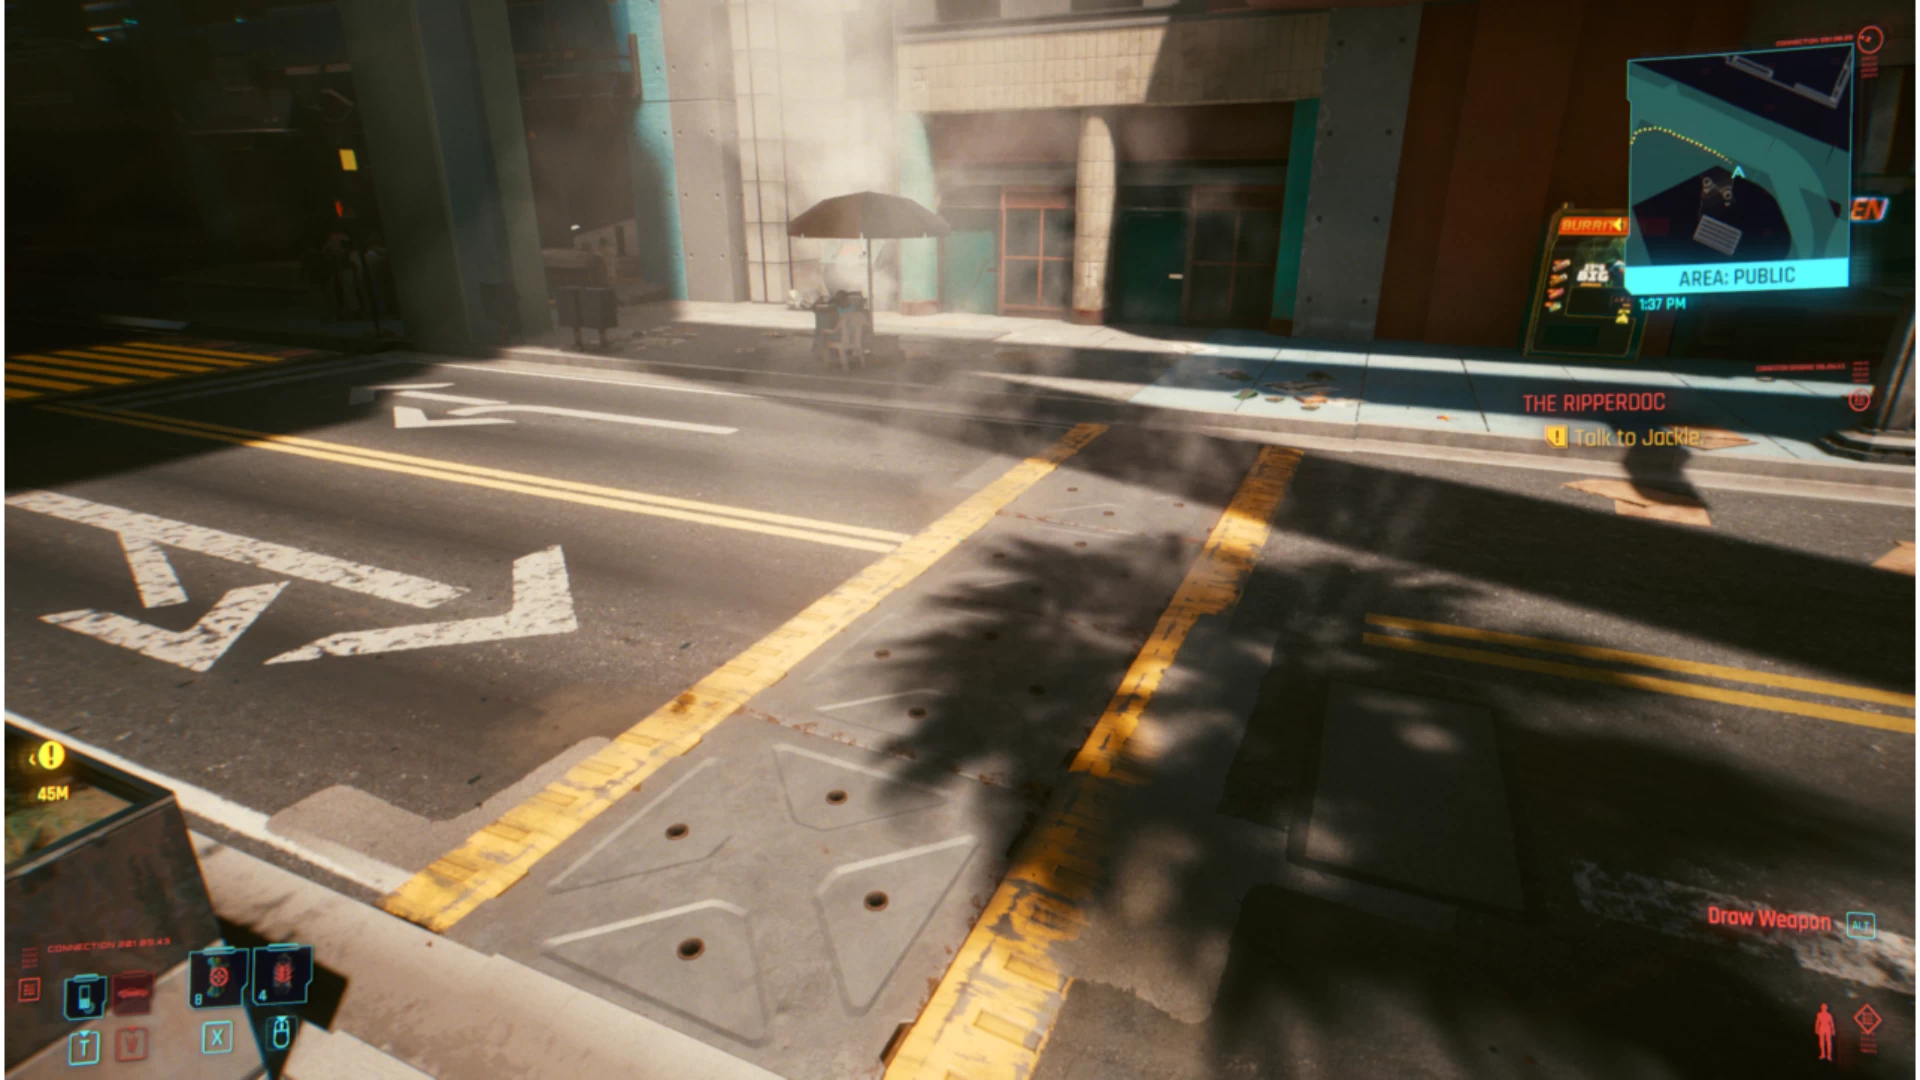
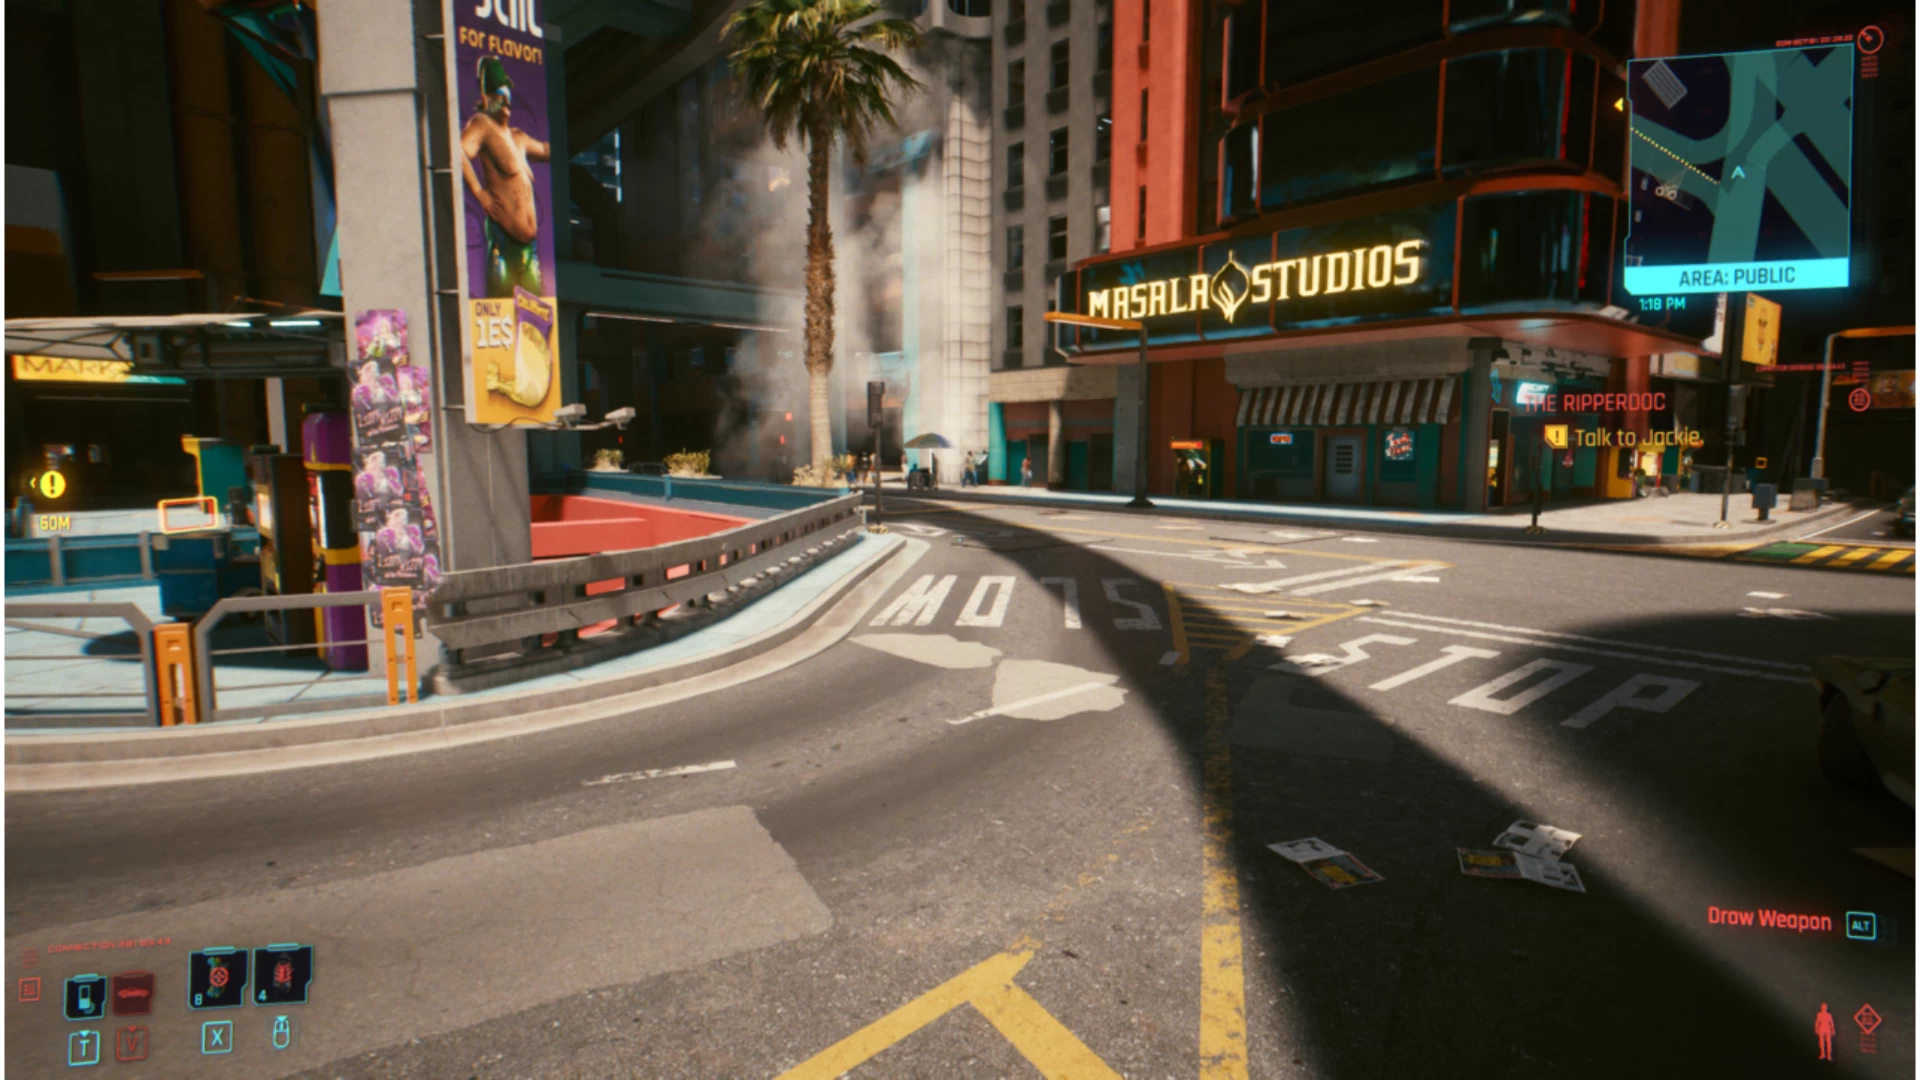
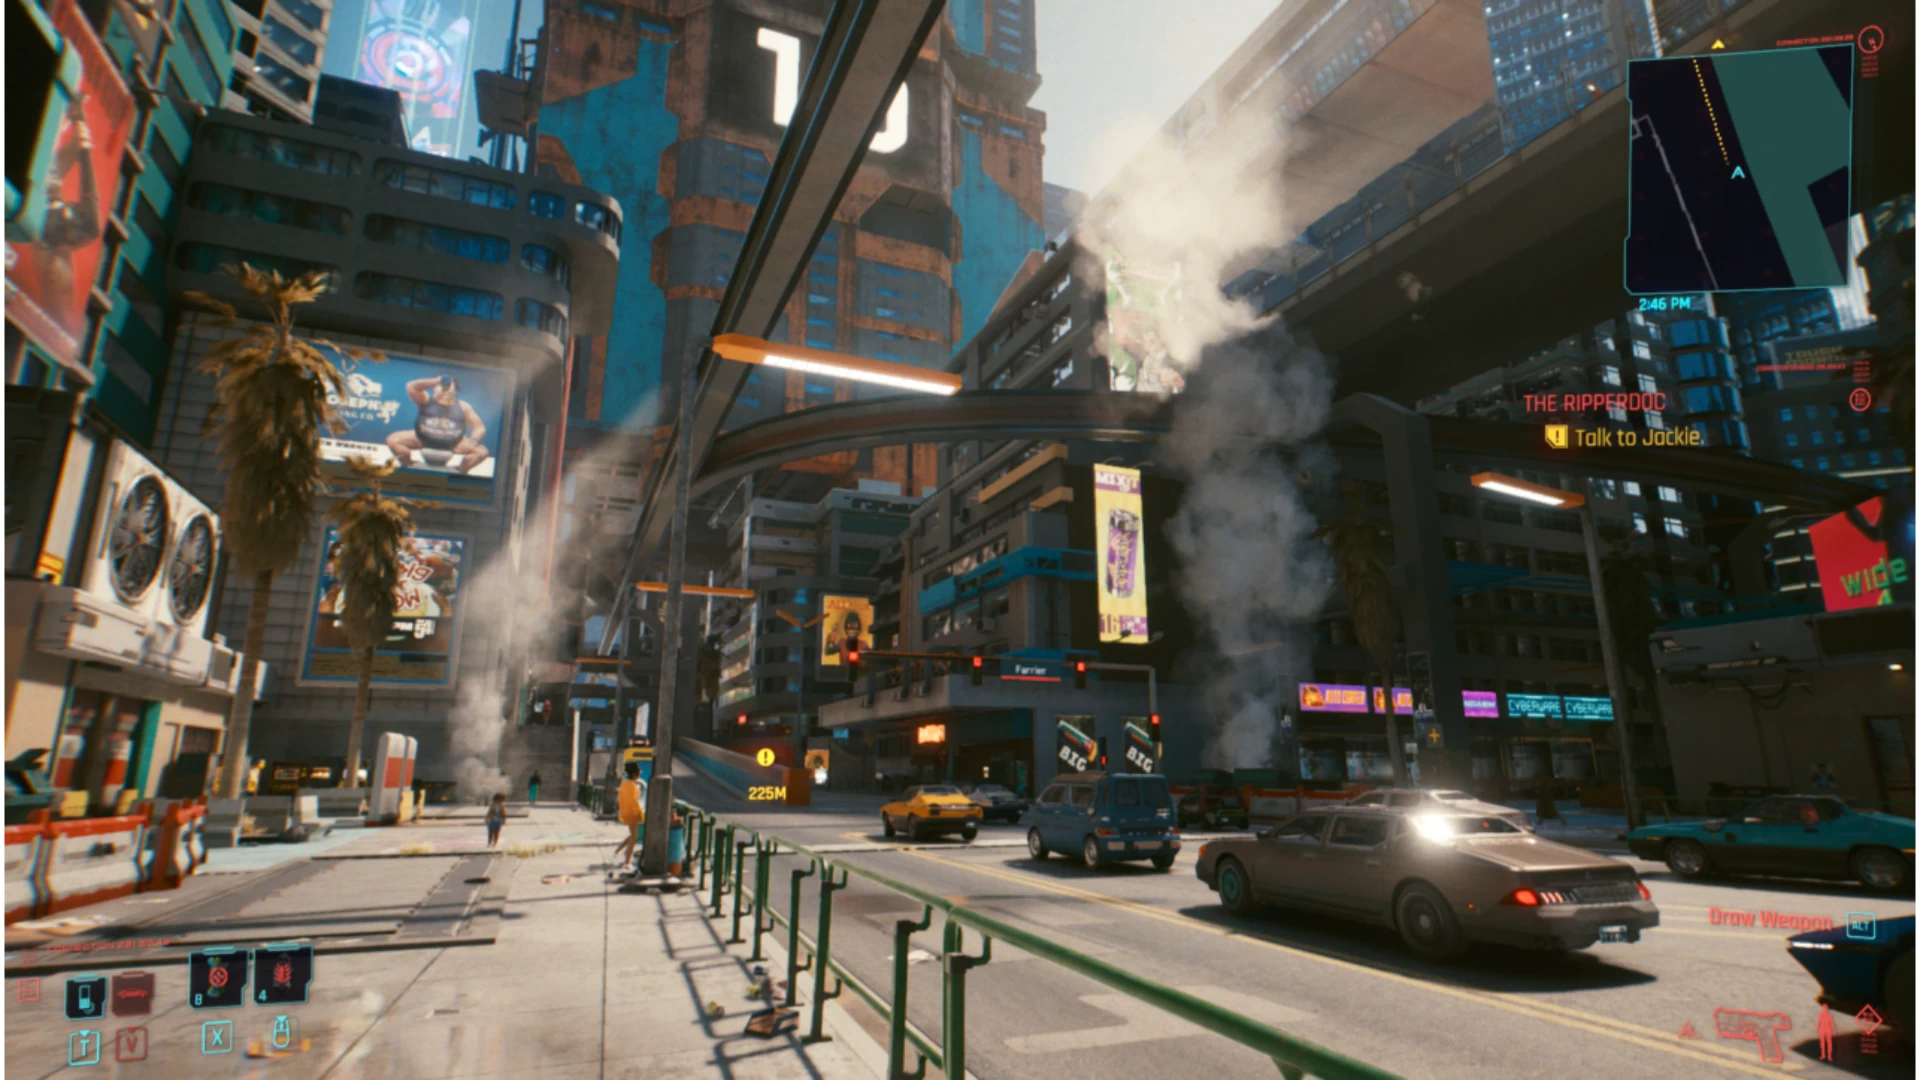
'Volumetric Fog Resolution' and 'Volumetric Cloud Quality'
One thing you'll notice a bit more when we get into other lighting/shadow options below is how a number of these settings make sense to adjust together. Here, these both impact the overall detail and quality of dust, particulate matter, and smoke—and how they interact with the world's light. This is something that you only start to really pick up on at high resolutions, but you can still see it (with a smaller impact) at 1080p.
Performance impact: ~10% between Low and Ultra
Drag the bar to compare Fog and Cloud Quality on Low and Ultra.
Note the smoke rising from the road panels, and how it's subtly impacting the scene lighting and colours displayed.
Max Dynamic Decals
So, this is an interesting setting which is only really noticeable when you're moving (hence no image for this section). When you're stationary in the world (or just walking), you won't be able to pick up on this so much, but this is the number of illuminated decals in the field of view. If you find your performance dropping significantly while driving around at night, this is one of the likely suspects!
Performance Impact: ~6% between Low and Ultra
Shadows
Due to the complexity on offer in regards to ray tracing, it's good that CDPR have provided a very granular setup for shadow effects and detail. What follows are examples of these different shadows in action and their performance impact.
Contact Shadows
This is an enhanced shadow rendering mode available for the game, which simply has an On/Off toggle.
Performance impact: ~2% between Off and On
Drag the bar to compare Contact Shadows Off and On.
Note some of the softer shadow effects on the car interior itself between the settings. Due to the subtlety, you might only wish to have this enabled at higher resolutions. It's hard to spot at 1080p.
'Local Shadow Mesh Quality' and 'Local Shadow Quality'
We're showing these together mainly because it makes sense to adjust them in tandem. Essentially, there's little point having one on High and the other on Low (for example). The mesh quality provides a level of consistency between shadows and light sources in the world (lowering makes it more simplistic), with the quality impacting the level of detail from the lights.
Performance impact: ~15% between Off/Low and High
Drag the bar to compare Local Shadow Mesh and Local Shadow Quality Off/Low and High.
Although at first glance it's hard to notice, you can see this in how the world is illuminated differently from different light sources, and the way those light sources impact how the shadows in turn are displayed.
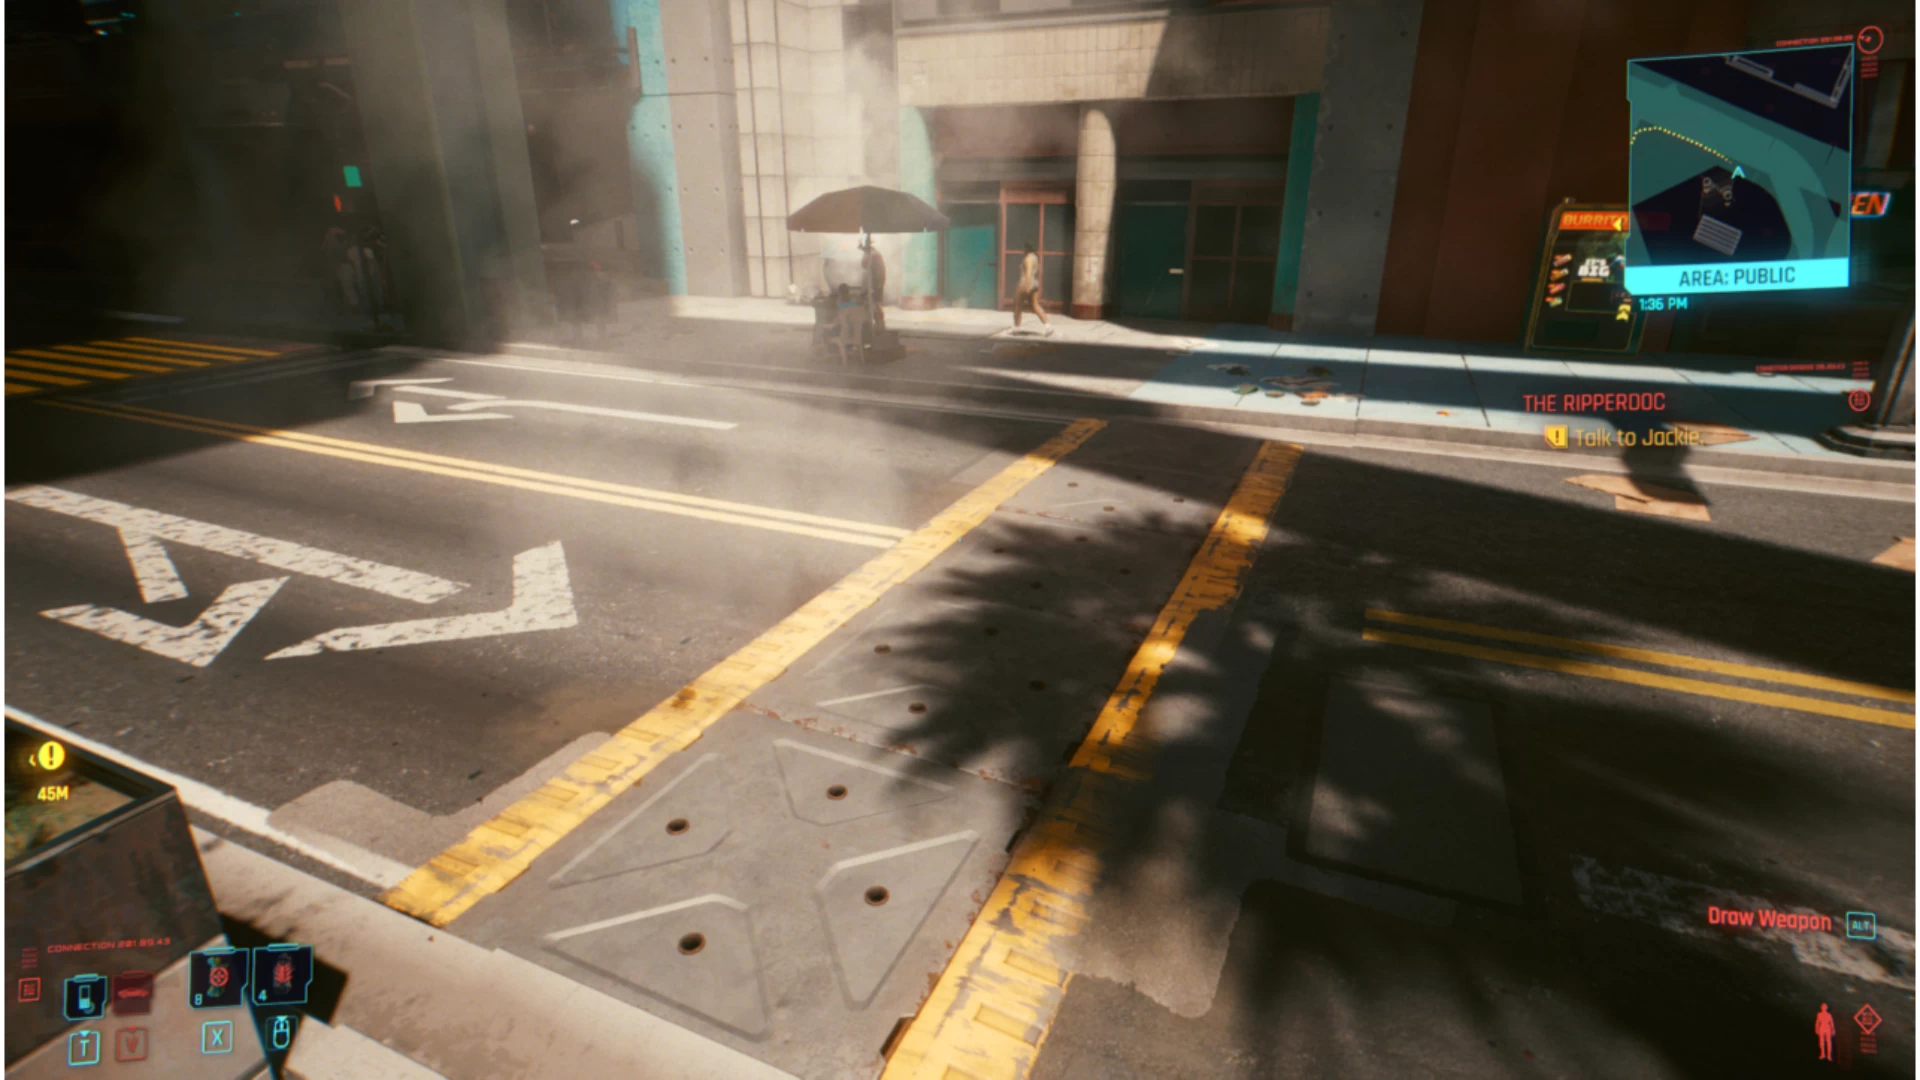
'Cascaded Shadows Range' and 'Cascaded Shadows Resolution'
Like the above shadow option, having these 2 options together makes sense. This does what it says on the tin: it impacts shadows cast as a result of sunlight, specifically concerning the range that they're cast and also the resolution of the shadows. As the world is very dense, during the day on the higher modes you might not even be getting to the point where you're seeing lower detail shadows.
Performance impact: ~20% between Low and High
Drag the bar to compare Cascaded Shadows Range and Resolution on Low and High.
Pay attention to the deepness of the shadow colour applied on low (less soft shadows), as well as the different smaller (and finer) shadows at different distances on High.
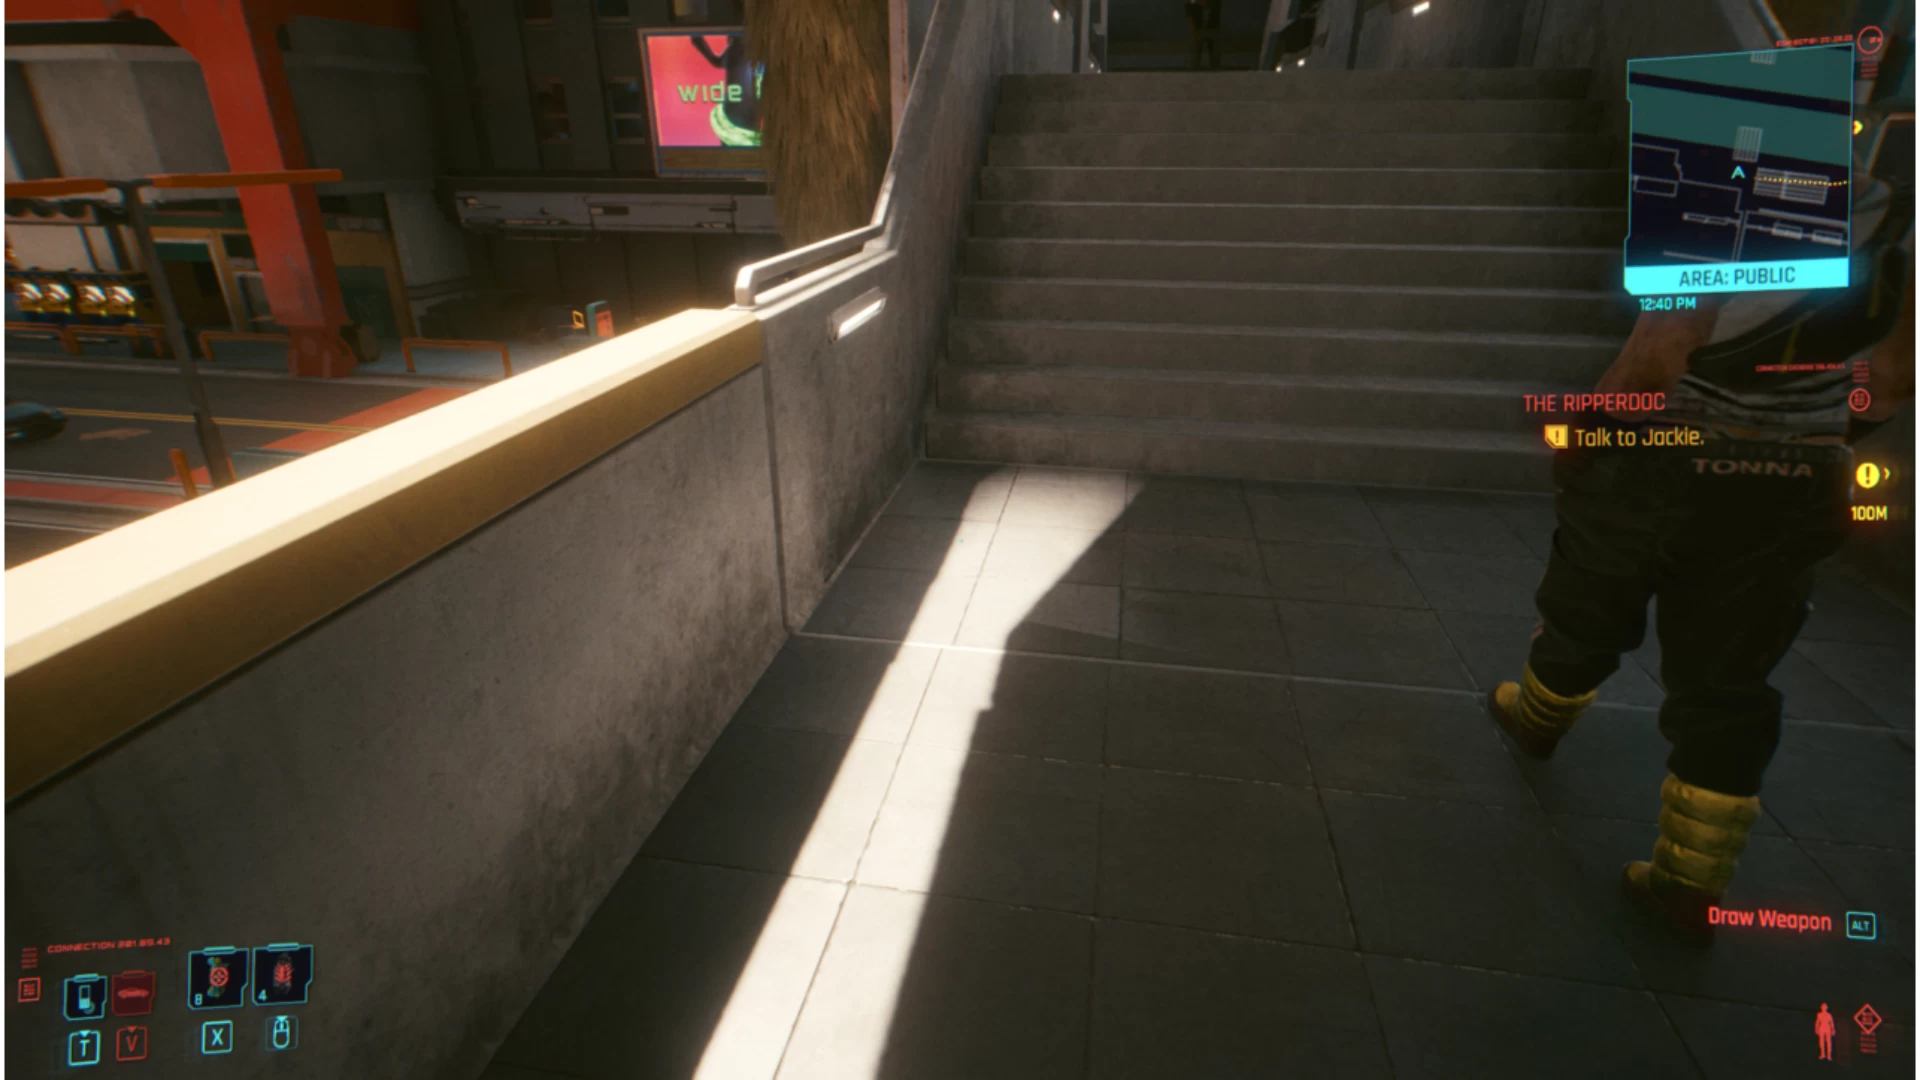
Screen Space Reflections Quality
As you might expect, this setting governs the quality of reflections. You really notice this option when you have ray tracing enabled too, but in general this is just a subtle change from Psycho to Low. Note: you have to manually select Psycho to use it, as the presets stop at Ultra.
Performance impact: ~18% between Low and Psycho
Drag the bar to compare Screen Space Reflections Quality on Low and Psycho.
Areas of the city which are more modern, as well as when there are puddles from rain, really make this worthwhile to have higher, but it will tank your performance when combined with ray tracing. Be careful!
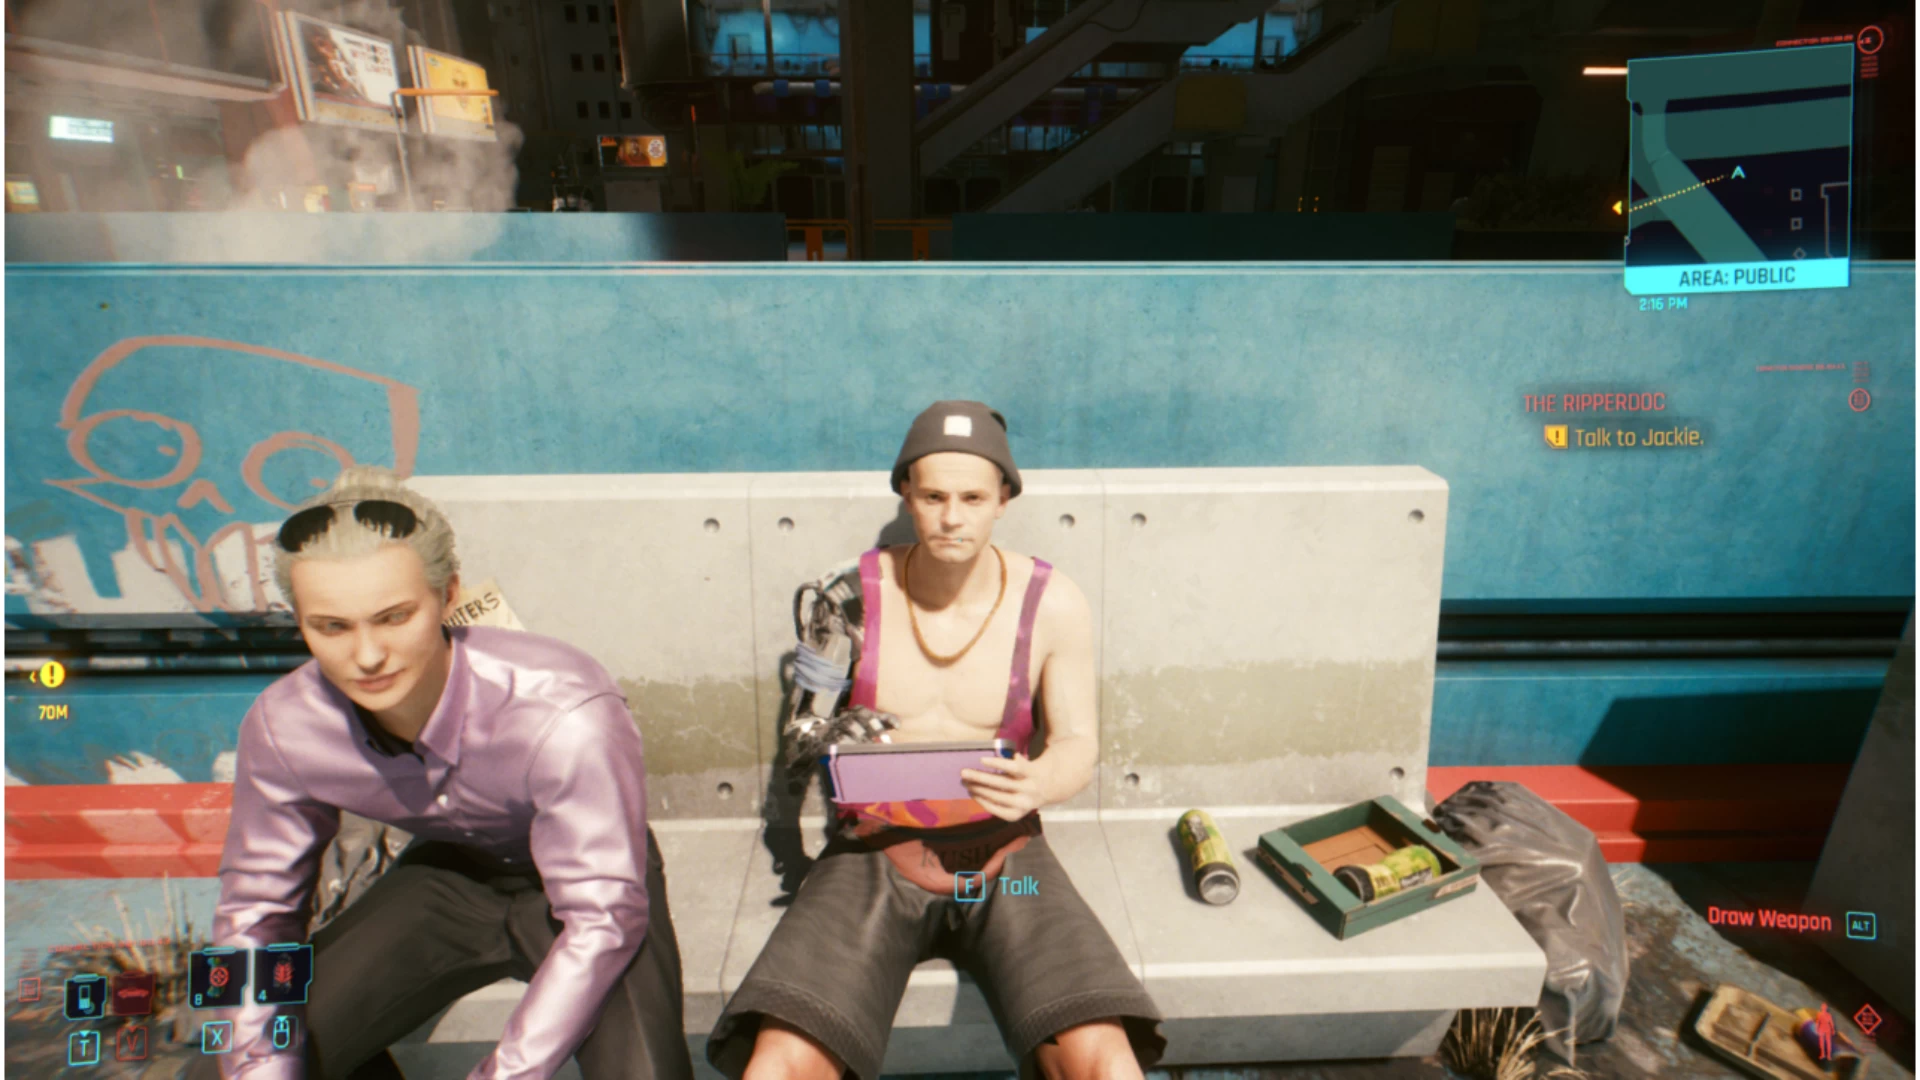
Subsurface Scattering Quality
This is all about skin detail. Yet it's not as simple as just all character details, as the models of some characters are more detailed than others.
Performance impact: ~5% between Low and High
Drag the bar to compare Subsurface Scattering Quality on Low and High.
The comparison image shows my buddy from an earlier screenshot in almost direct sunlight. As he's not a main-story NPC, he has a more simple face model. Thus, although there is a bit of skin difference, it's not super noticeable and this by itself does not have a great performance impact. Consider how a person's skin can change colour when they blush, for instance... that's the sort of subtle we're talking about.
Ambient Occlusion
In this game, ambient occlusion is mainly focussed around "complex" spaces. So, think of shadows and light interacting with small gaps, going around corners and such. Unlike a lot of other games, you just get a High to Off option. But I've only found this is picked up in areas with fires at night. In daytime, you can't notice its impact at all.
Performance impact: ~3% between Off and High
Mirror Quality
This is just an immersion preference, as you don't see yourself in a mirror too often. Yet if you want to see yourself in all possible ugly detail, this is the way to do it!
Performance impact: ~2% between Low and High
Colour Precision
I suspect this is more to do with those of you playing on HDR monitors, as I couldn't detect this personally. You only get a switch here between High and Medium, and it's meant to impact colour gradient banding.
Performance impact: ~3% between Medium and High
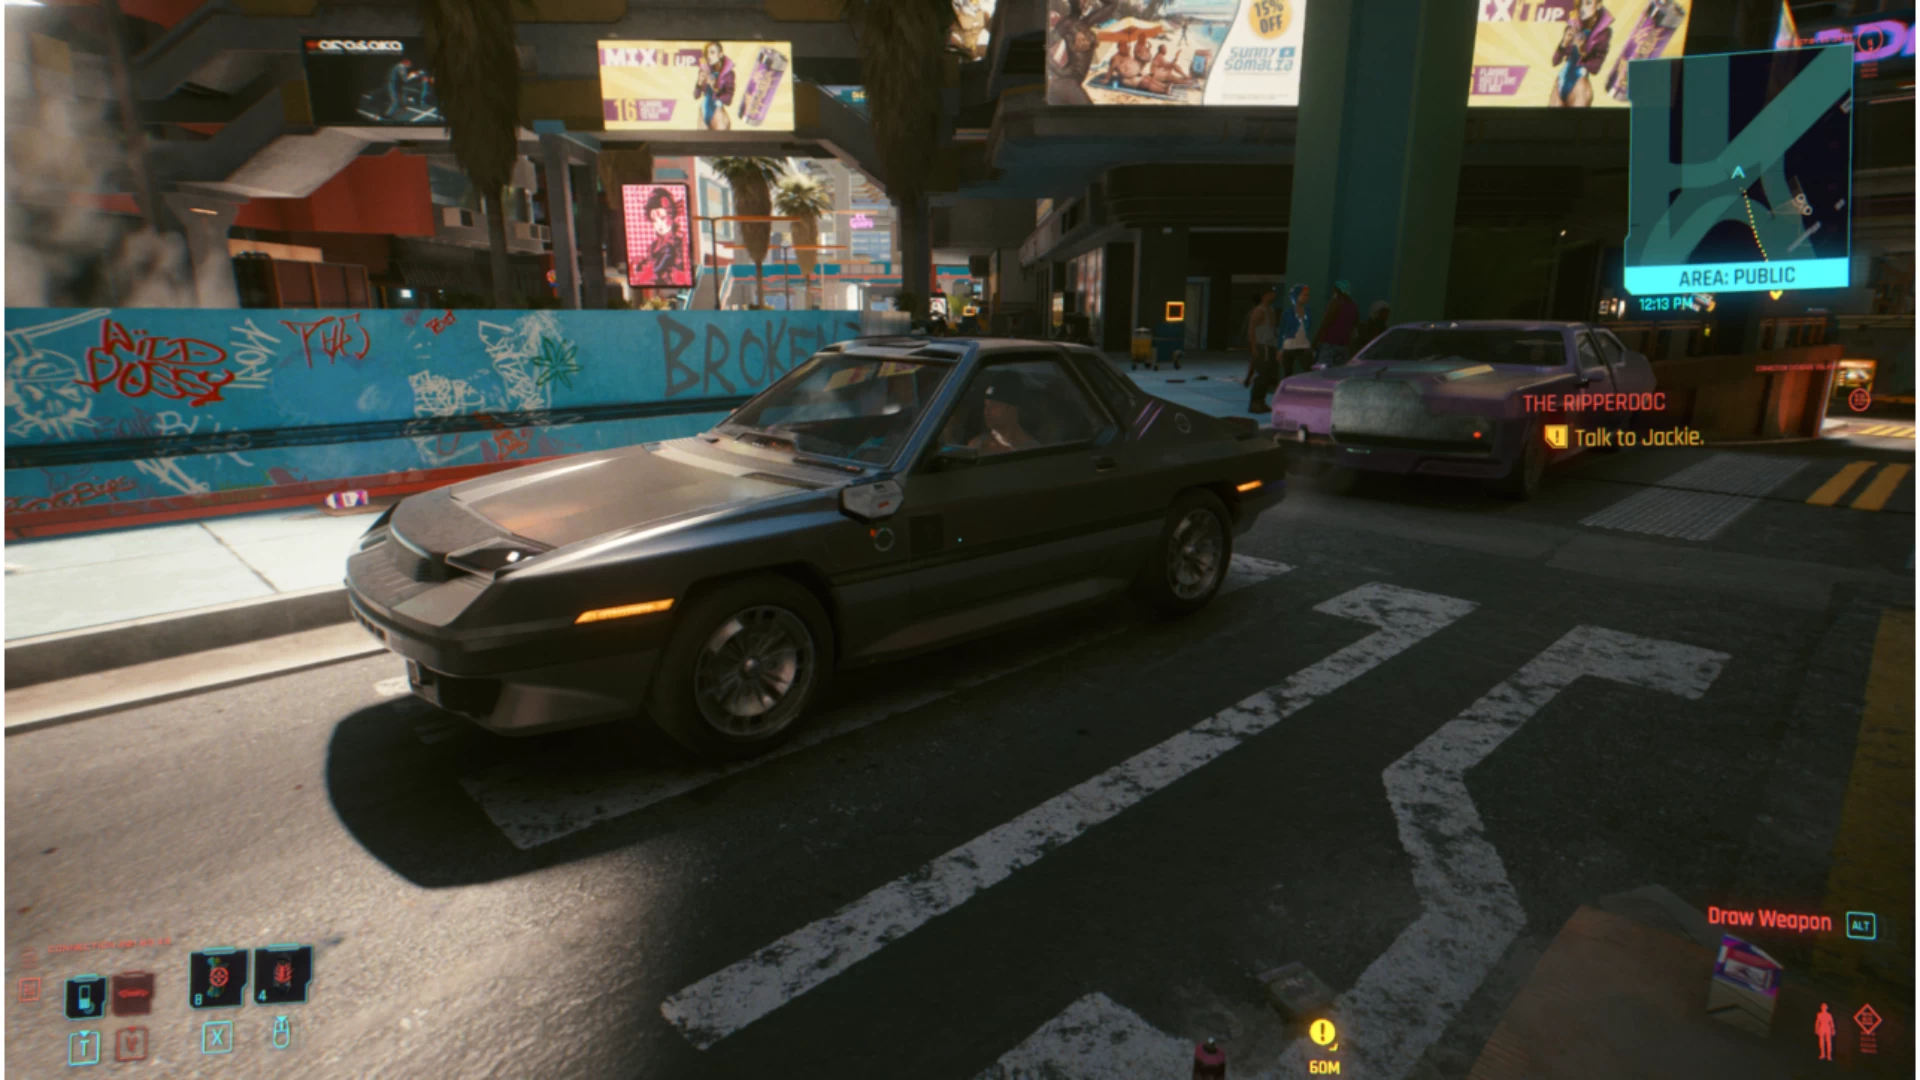
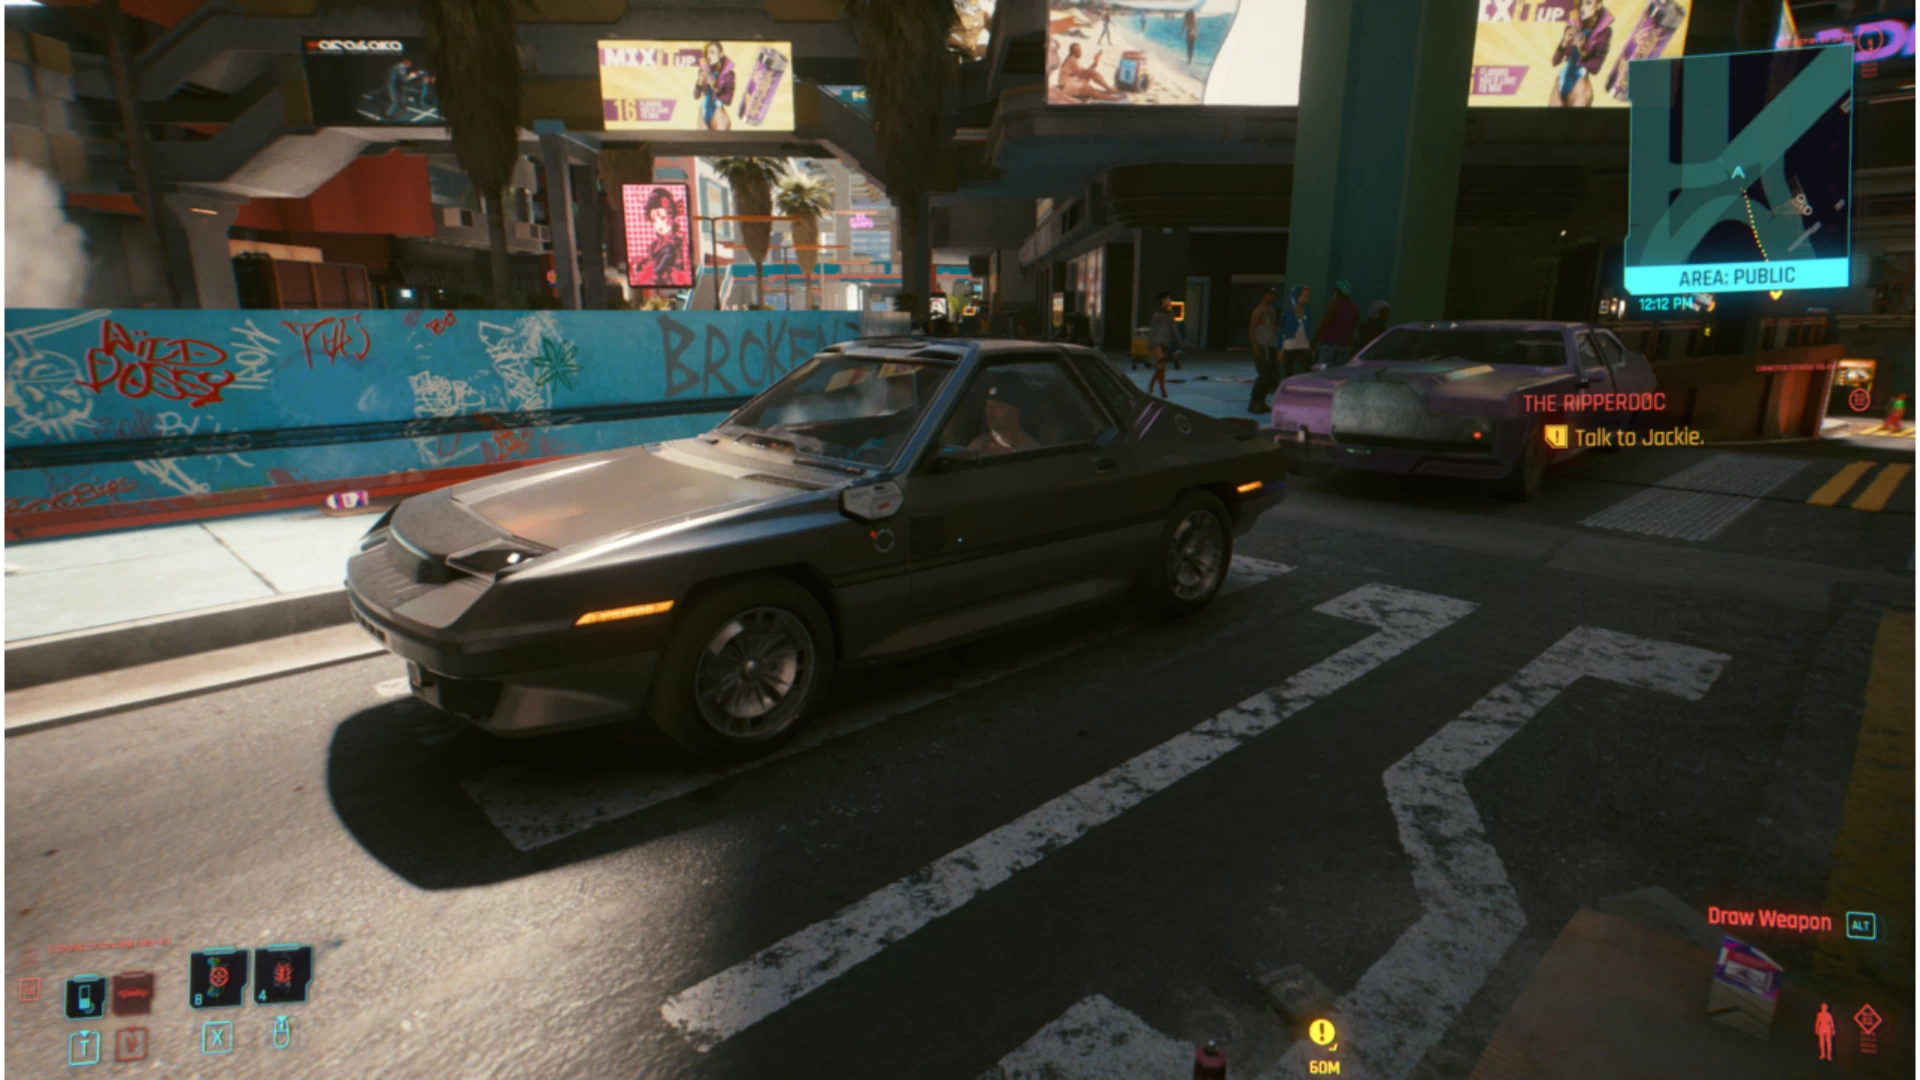
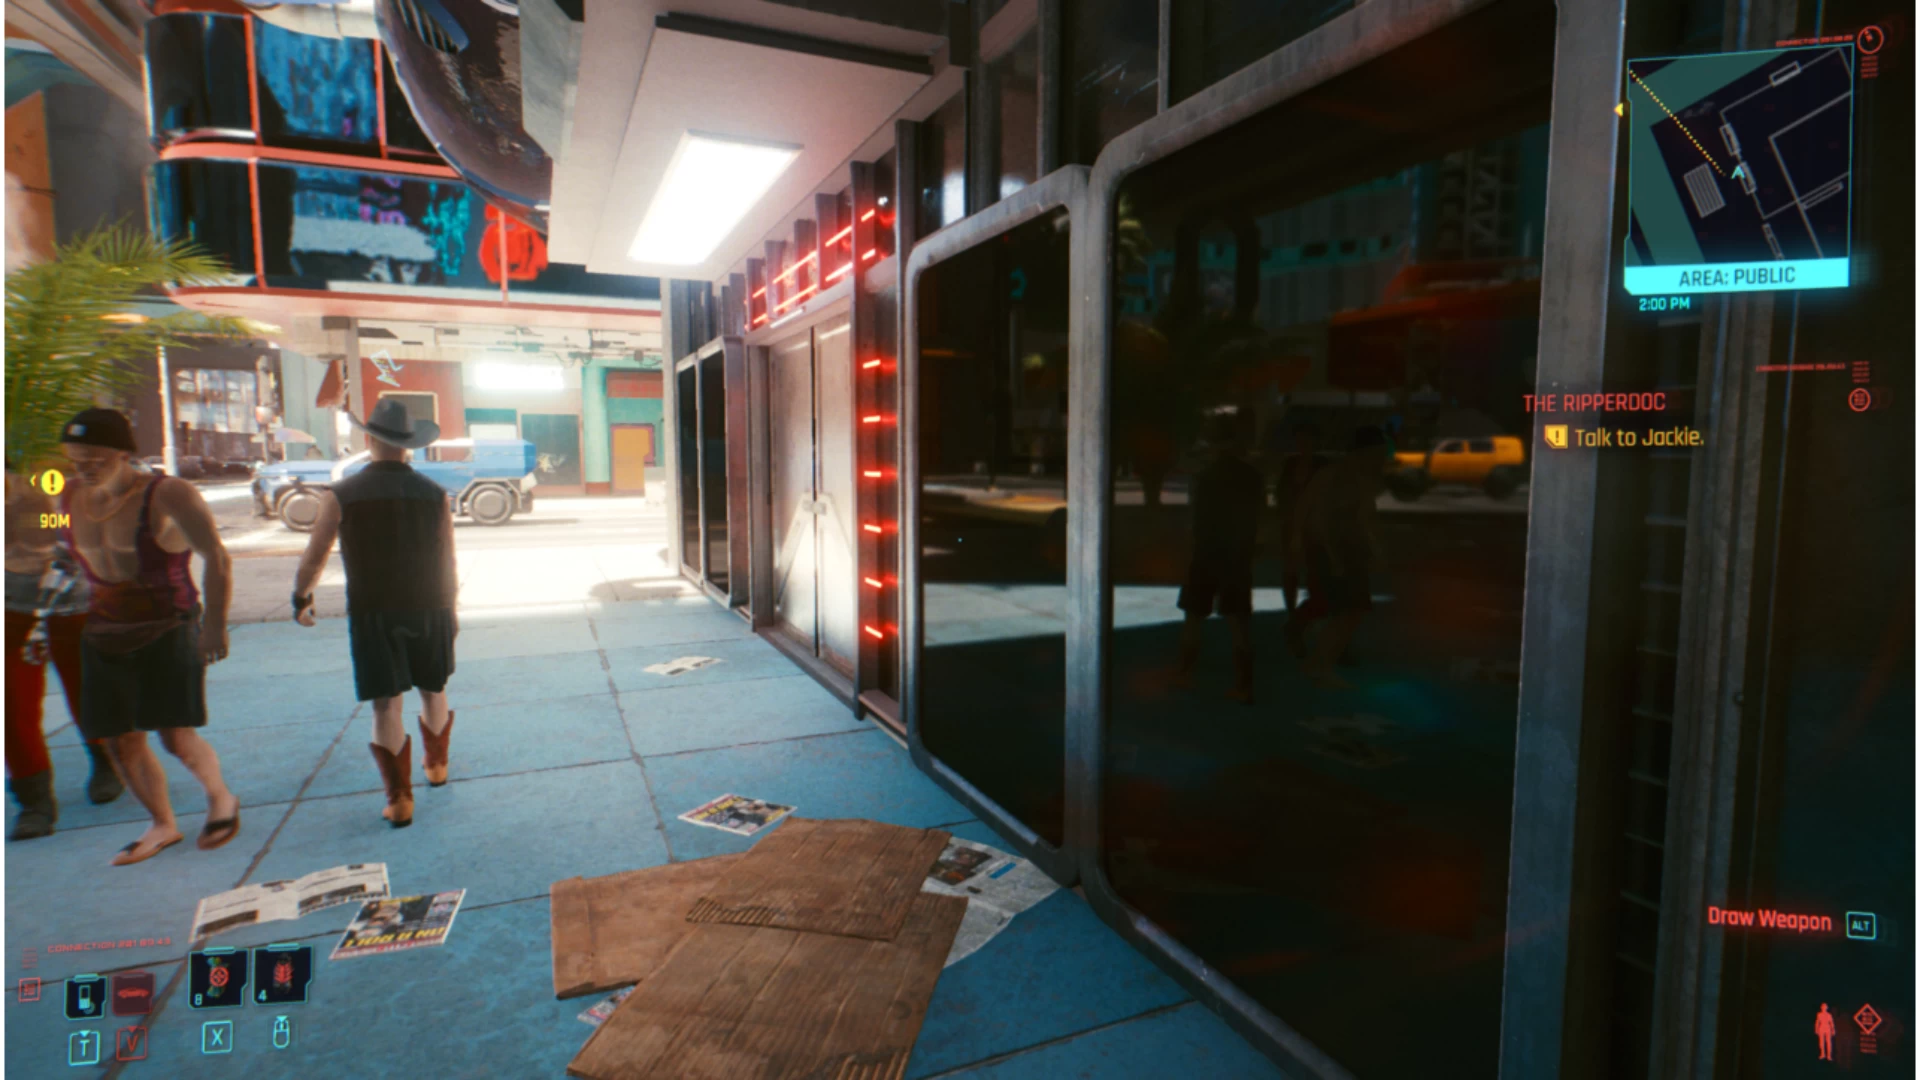
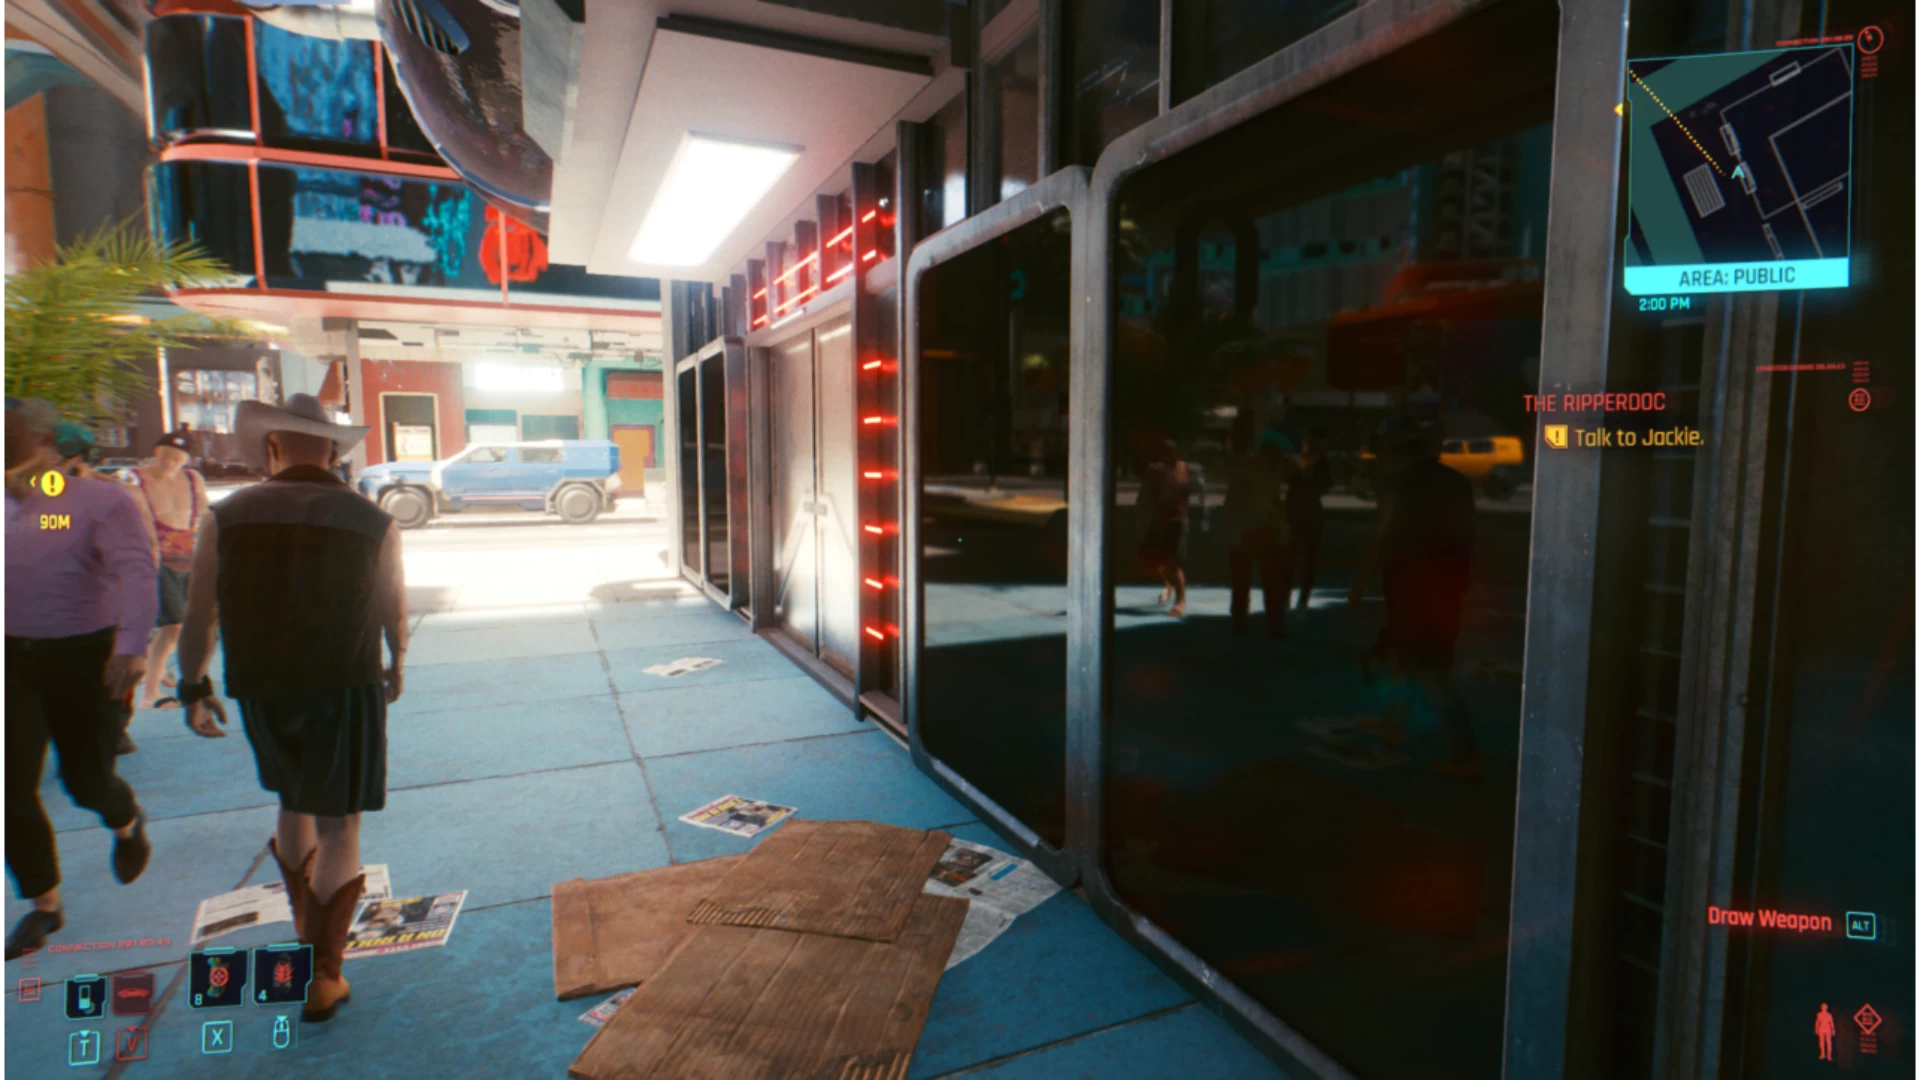
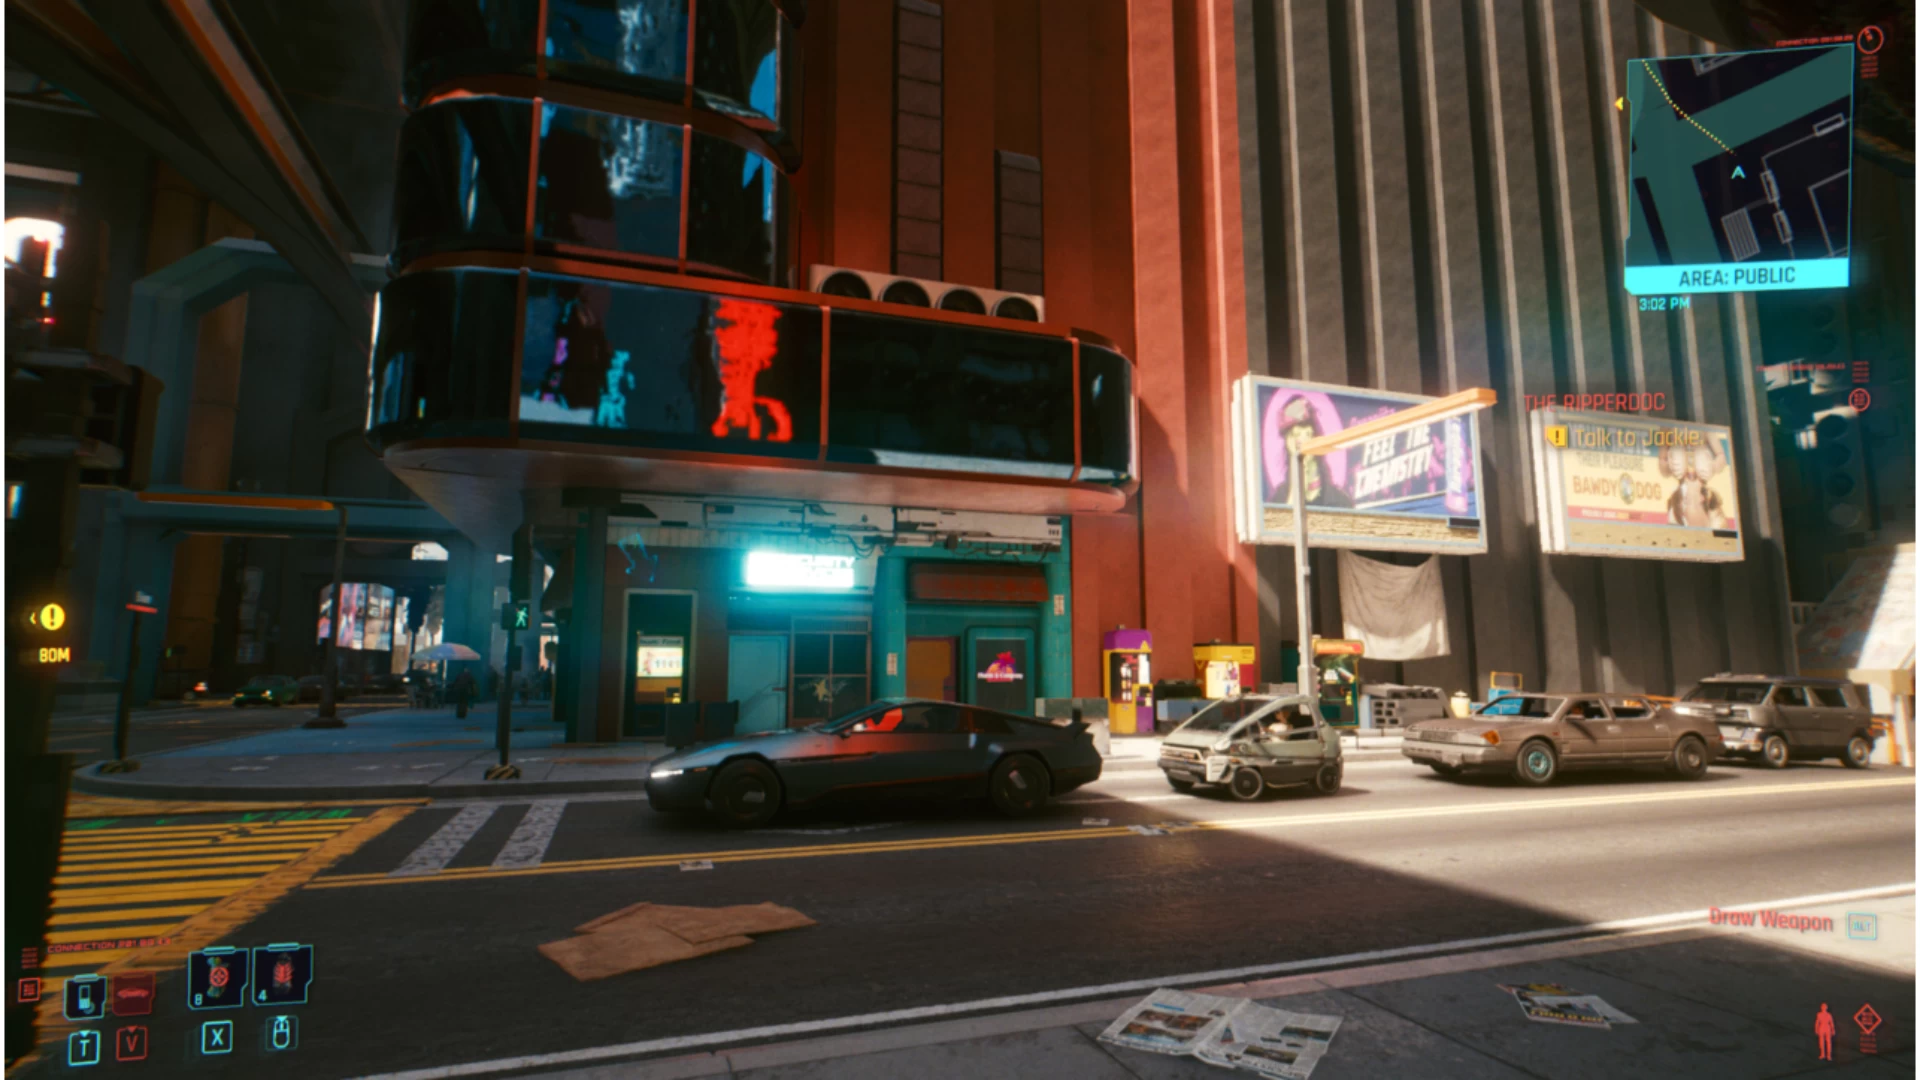
Ray Tracing
So, I wanted to quickly show the impact on the world reflections as well as overall lighting and shadow impact with having this on or off. Note that if you have just ray tracing enabled (and not DLSS on NVIDIA cards too) this will tank your performance. Our reference system took a huge hit to FPS when this was enabled.
Performance impact: ~80-150% between Off and On (very GPU-dependent)
Drag the bar to compare Ray Tracing Off and On.
In the example, note how the red sign behind me is reflecting on the car window, as well as the building opposite. This setting also brings subtle changes like soft red glows on the car, softer edges for shadows, and the complexity of visible reflections.
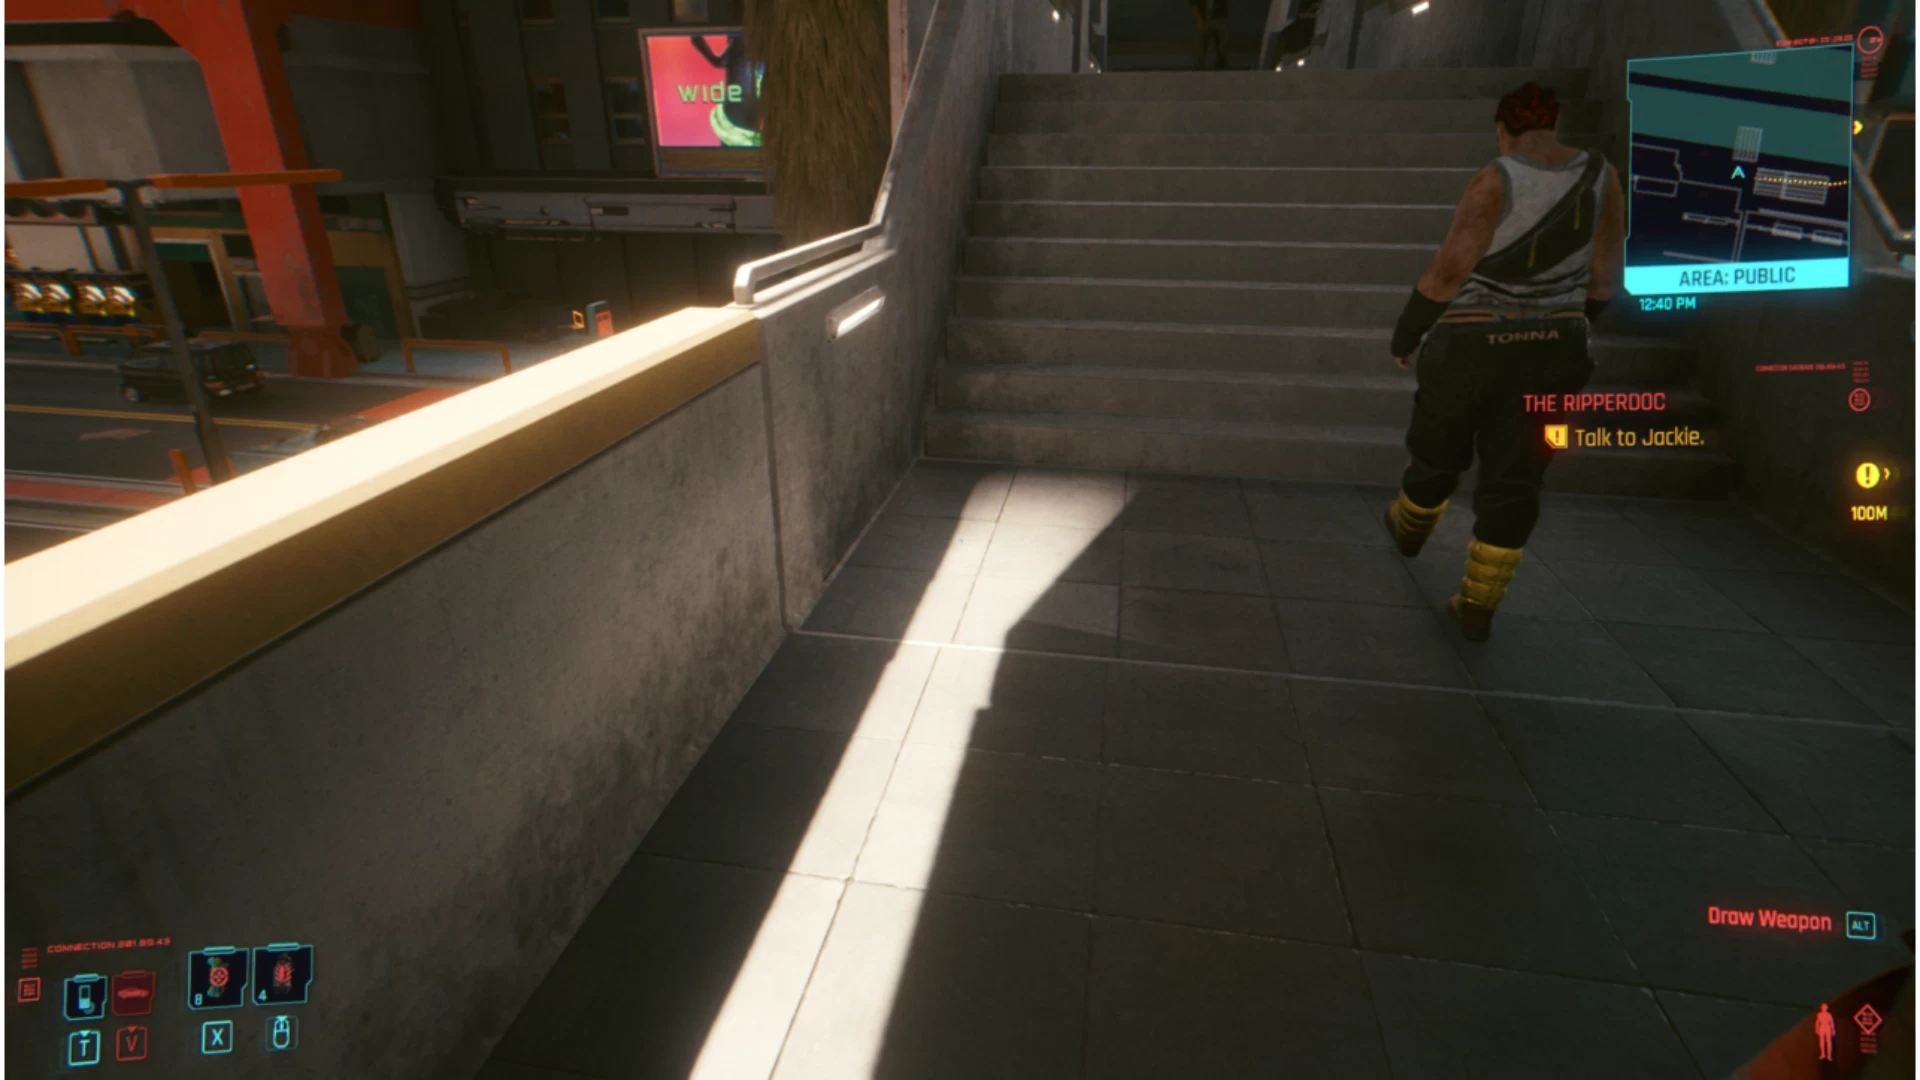
DLSS (Nvidia only)
To give an idea of the visual hit you'll get here, I've used the 2 extremes of the options here. In game you'll get the choice of Off/Auto/Quality/Balanced/Performance/Ultra Performance. Although Nvidia have explained a lot about what DLSS does, CDPR have actually got one of the better implementations on display here.
It's clearly doing a good job of hiding the lower quality details to bump up the performance, while still giving you a solid experience overall. Do note that this visual impact changes widely across resolutions, which is why it becomes essentially a standard at 4K and higher to be running either performance or ultra performance!
Performance impact: ~60-100% between Off and Ultra Perforamnce (very GPU- and resolution-dependent)
Drag the bar to compare DLSS Off and on Ultra Performance.
Notice the softening of the edges on a lot of the scene.
Choosing the Best Settings for Cyberpunk 2077
If your computer can achieve a steady 60 FPS with all the settings turned up at your desired resolution, then we recommend keeping things as they are.
However, if you’re not reaching 60 FPS, or if you have a specialized monitor with a higher refresh rate and want to get even better performance, there are certain settings you can lower in Cyberpunk 2077 to improve your framerate without sacrificing too much in the way of visuals.
Unfortunately, as we said above the image sliders, lowering multiple settings will not have a straightforward cumulative effect on framerate: if dropping one setting gives 10% improvement, and dropping another gives 10%, lowering both will not give 20%, but possibly between 12-18%.
Improve FPS considerably with little to no impact on visuals
Bring the various Shadow options down to Low/Medium based on preference
Turn down Subsurface Scattering Quality
Turn down Ambient Occlusion
Turn down Mirror Quality
Turn down Improved Facial Lighting Geometry
Improve FPS by larger amounts with moderate impact to visuals
Disable Ray Tracing
Turn down Screen Space Reflections Quality
Turn off Shadow Mesh Quality
Turn down Cascaded Shadows Range and Resolution
Last Resorts
If doing all of the steps above still does not achieve your desired framerate, try some of the following:
Turn down Anistropy
Turn off Ambient Occlusion.
Turn down Volumetric Fog Resolution and Cloud Quality
Turn down Level of Detail.
Very last resort: Turn any and all settings to Low or Off.
If you try all of the above and still can’t run the game as smoothly as you would like, you may need to upgrade your hardware.
Conclusion
With Cyberpunk 2077, you really want to make sure you have a high-end system if you want to get the best out of the game. When it's working properly, Cyberpunk 2077 is one of the best-looking games on PC, so it does make sense that it is extremely demanding if you are running lower-level hardware. In an ideal world, you will want a high-end GPU, and a reasonably powerful CPU.
That being said, if anyone can make a game that looks amazing and comes bursting at the seams with modern graphical options, all while giving us a great gaming experience, it is CD Projekt. The game may not be quite there yet, but big games rarely release without being a work-in-progress at this point. PC players can at least be pleased that they aren't facing the extensive issues plaguing the game's console releases so far.
Like Witcher 3 before it, this game should eventually highlight the love and care the developers put into not only providing an immersive world in terms of story, but using their game engine to the fullest of modern visual fidelity to pull us in with a beautiful world.
What will be interesting to see is how well-optimised the game ends up being, especially as far as the higher resolutions and frame rates are concerned, after all the patches have come around. However, as with other CDPR games, there are plenty of options for manual optimisation to customise the experience to your own build's needs—which we cover in detail in the graphical settings guide section above.
We hope this guide has helped you determine the hardware you’ll need to play Cyberpunk 2077 to your satisfaction, and what settings to use to help strike a balance between good visuals and good performance.
If you have any questions, please don’t hesitate to ask in the comments below, or email us at contact@logicalincrements.com.
About Us
Chris is a contributing writer for Logical Increments, and has worked in the gaming and technology industries as a community manager for many years, as well as a live streamer. He has been building PC's for over 11 years.
When Chris is not here creating builds and guides, he can be found at University, studying for a BSc in Video Production as he makes the transition over to the film industry from gaming. You can read more about his journey on his website.